

Saved Views & Bookmarks
A view saves how a table is set up: its filters, search terms, sort order, and hidden columns. Load a view to return to that setup in one step, or set it as your default so the table always opens that way. Views are personal: each user has their own, for each account.
Tables that support views have the Views icon in their toolbar.
How to Use Saved Views
Section titled “How to Use Saved Views”Set up the table first:
-
Select "Columns" to show or hide columns.
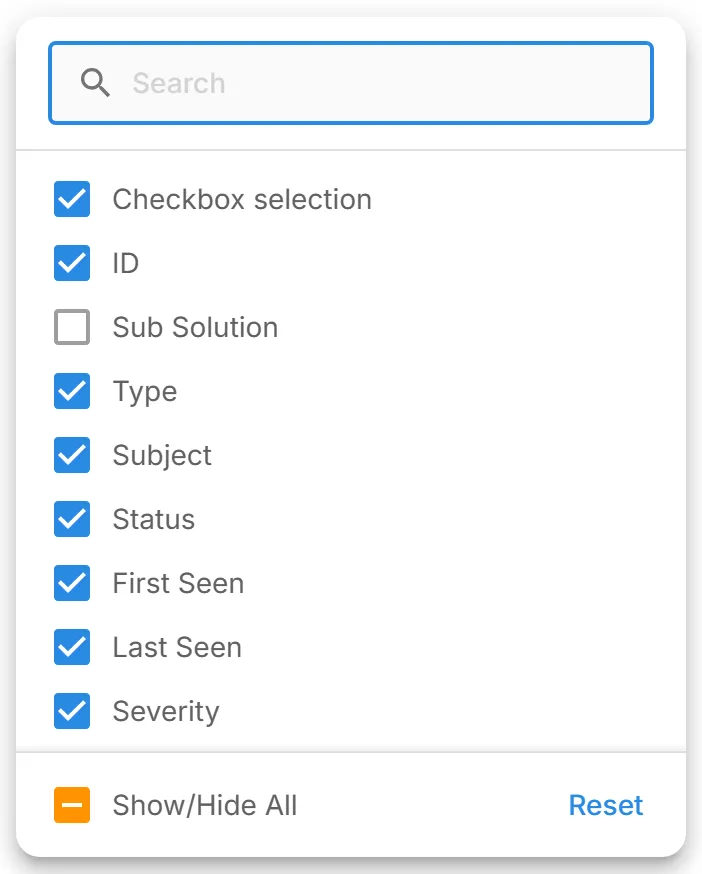
-
Select "Filters" to choose a column and filter on it.

-
Enter text in "Search..." to search the table.
-
Select a column header to sort by that column, in ascending or descending order.
Create and Save a View
Section titled “Create and Save a View”-
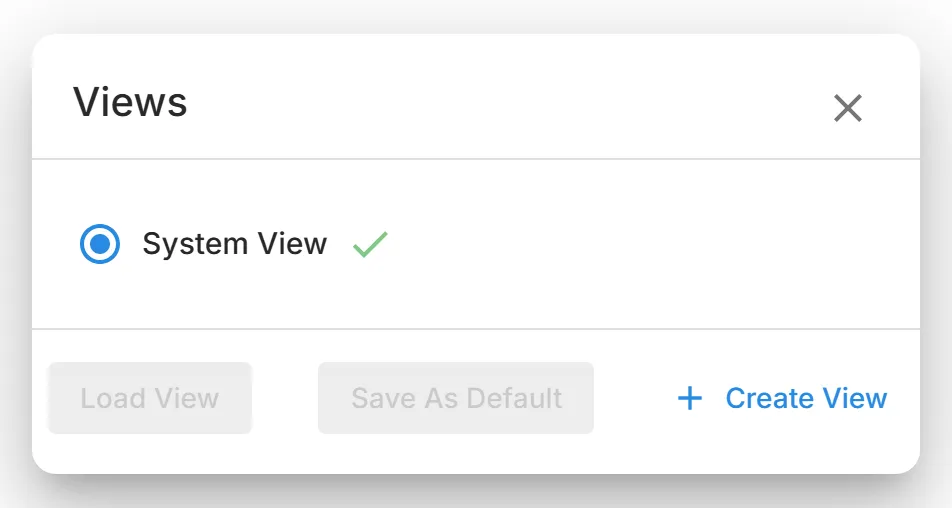
Select the Views icon in the toolbar. The "Views" dialog opens.

-
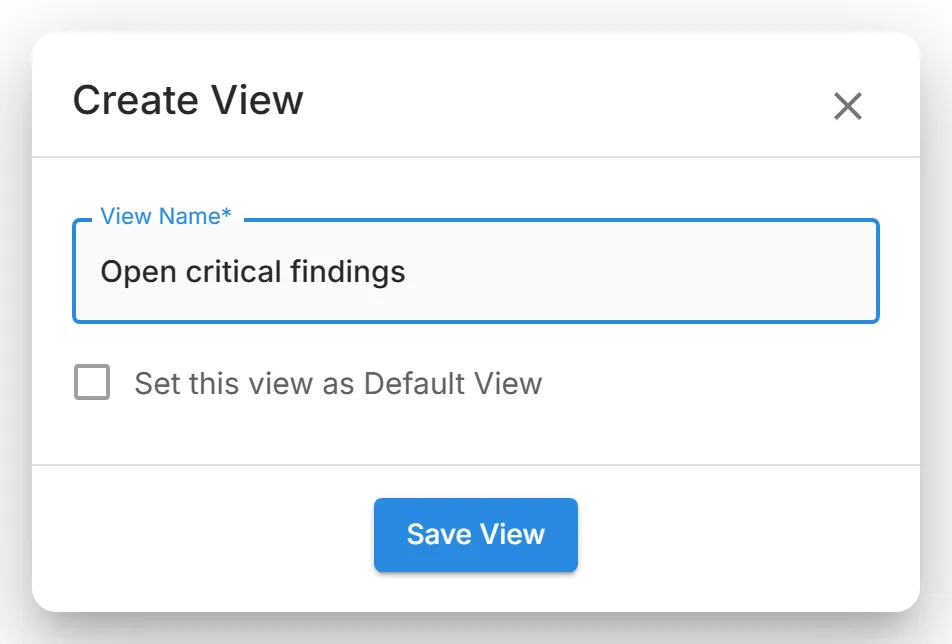
Select "Create View". The "Create View" dialog opens.
-
Enter a "View Name". Each view needs a unique name, and it cannot be "Default".
-
Optional: select "Set this view as Default View" to open the table with this view every time.
-
Select "Save View".
Access and Manage Saved Views
Section titled “Access and Manage Saved Views”The "Views" dialog lists your views. "System View" is the table's original setup. Under each view's name, StyxView summarises what it holds, for example "2 active filters, sorted by 1 column".
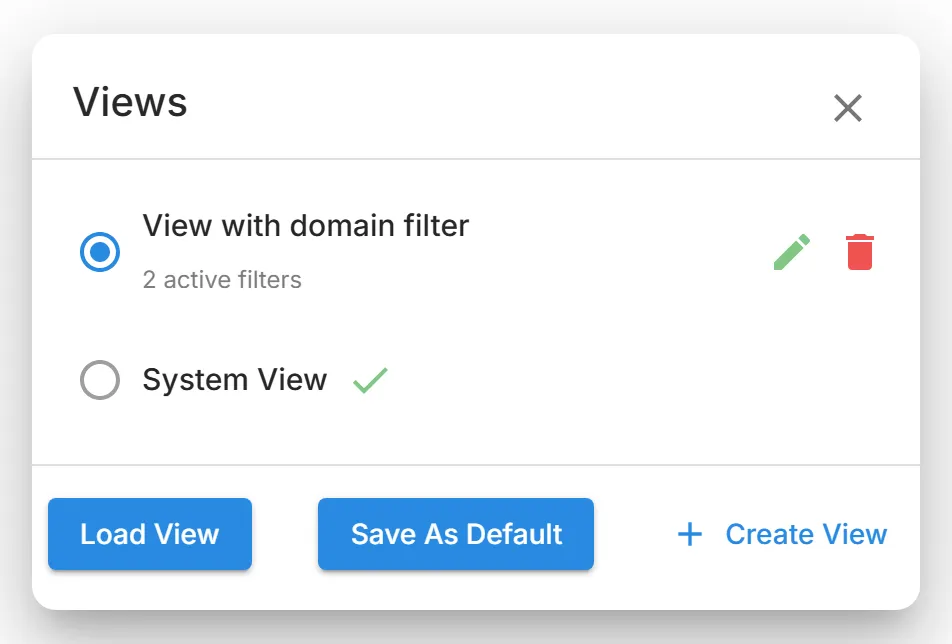
- Load a view: select it and select "Load View".
- Make a view your default: select it and select "Save As Default". A tick marks the default view. A dot on the Views icon shows that one of your views is the default. Hover over the dot to see its name.
- Return to the original setup: select "System View" and select "Save As Default".
- Rename or change a view: select its edit icon, change the "View Name" or "Set this view as Default View", and select "Update View".
- Delete a view: select its delete icon and confirm.
Export Customised Data
Section titled “Export Customised Data”An export uses the table's current filters, search, and sort order. So to export the data in a view, load the view first and then export. See Export Functionality.