

Groups
A group sets the access of every user in it. Each user belongs to exactly one group, and each group has:
- A role: Admin, Analyst, or Viewer. The role decides what members can do. See Login and User Roles.
- A scope, shown as "User Scope" in the form and "Access Level" in the list. "Client" gives access to every account and every solution. "Account" limits members to the accounts you choose and, for Analysts and Viewers, to the solutions you choose in each account.
Only Admins can open Groups.
Every organisation starts with three groups, all with "Client" scope: default_styx_admin_client (Admin), default_styx_analyst_client (Analyst), and default_styx_viewer_client (Viewer). default_styx_admin_client is marked "System default" and cannot be edited or deleted.
Navigation Path
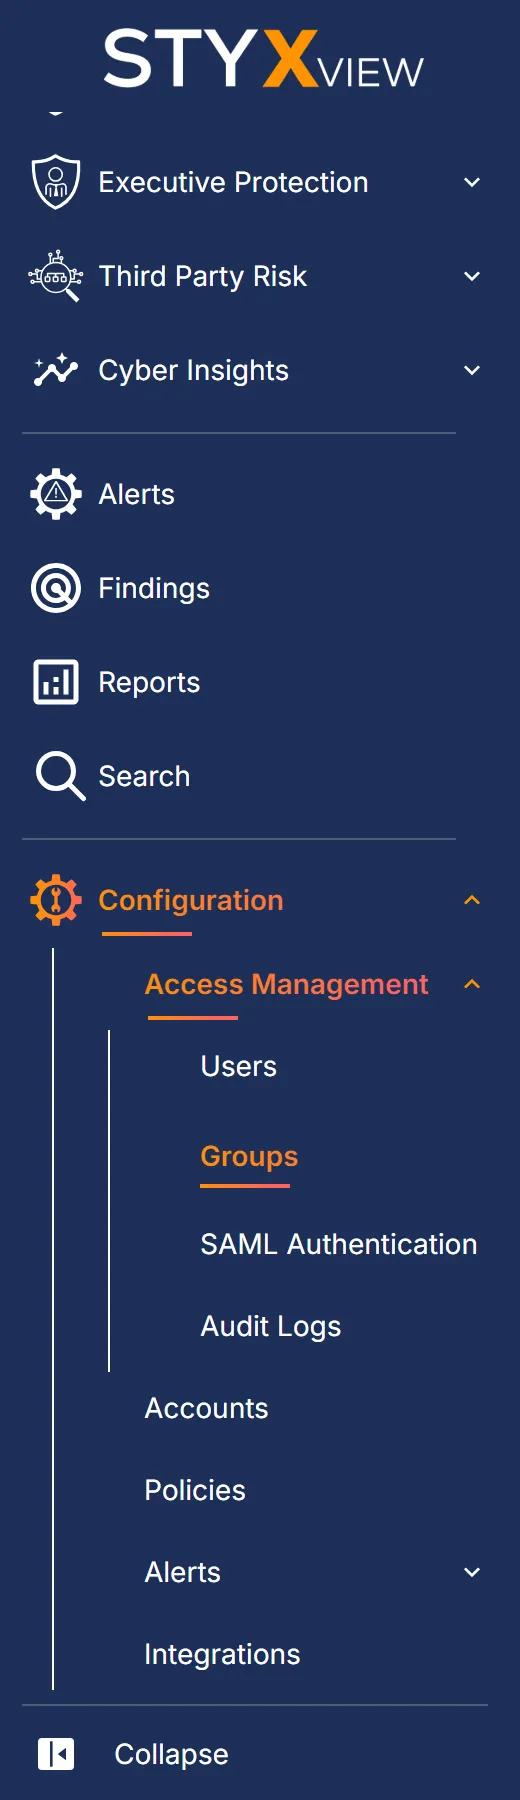
Section titled “Navigation Path”In the sidebar, select "Configuration" > "Access Management" > "Groups".
The Groups List
Section titled “The Groups List”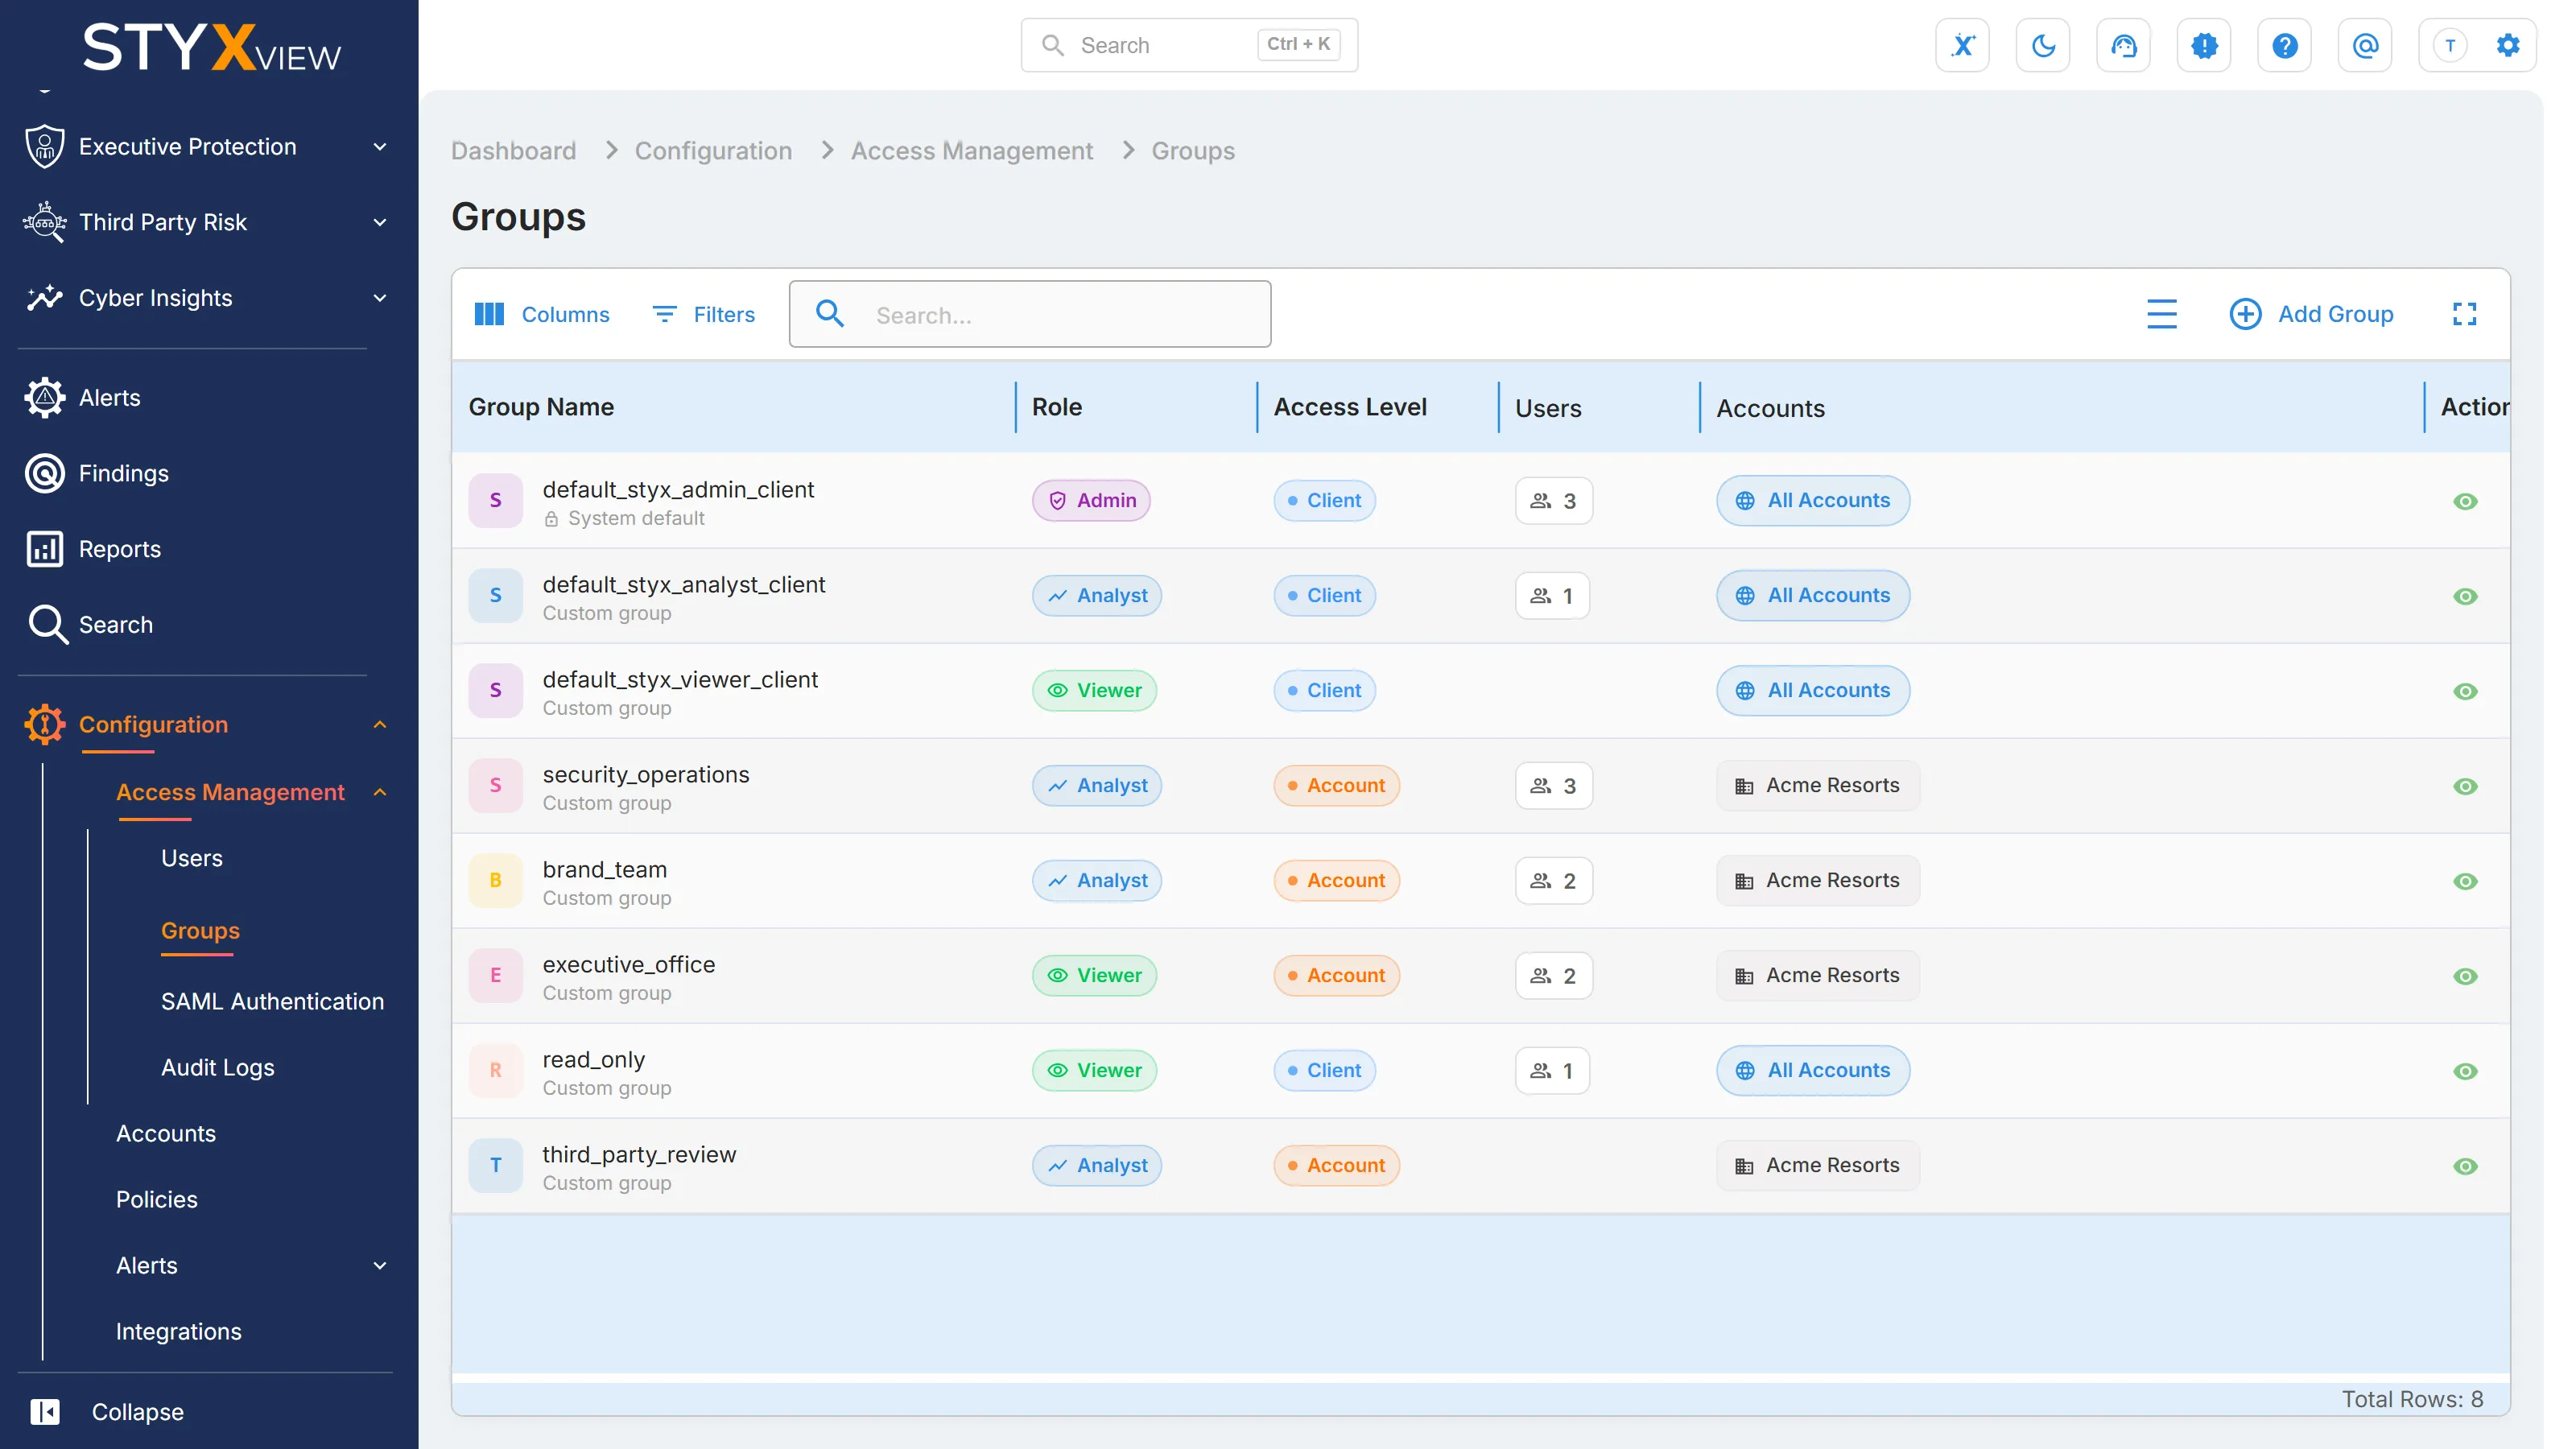
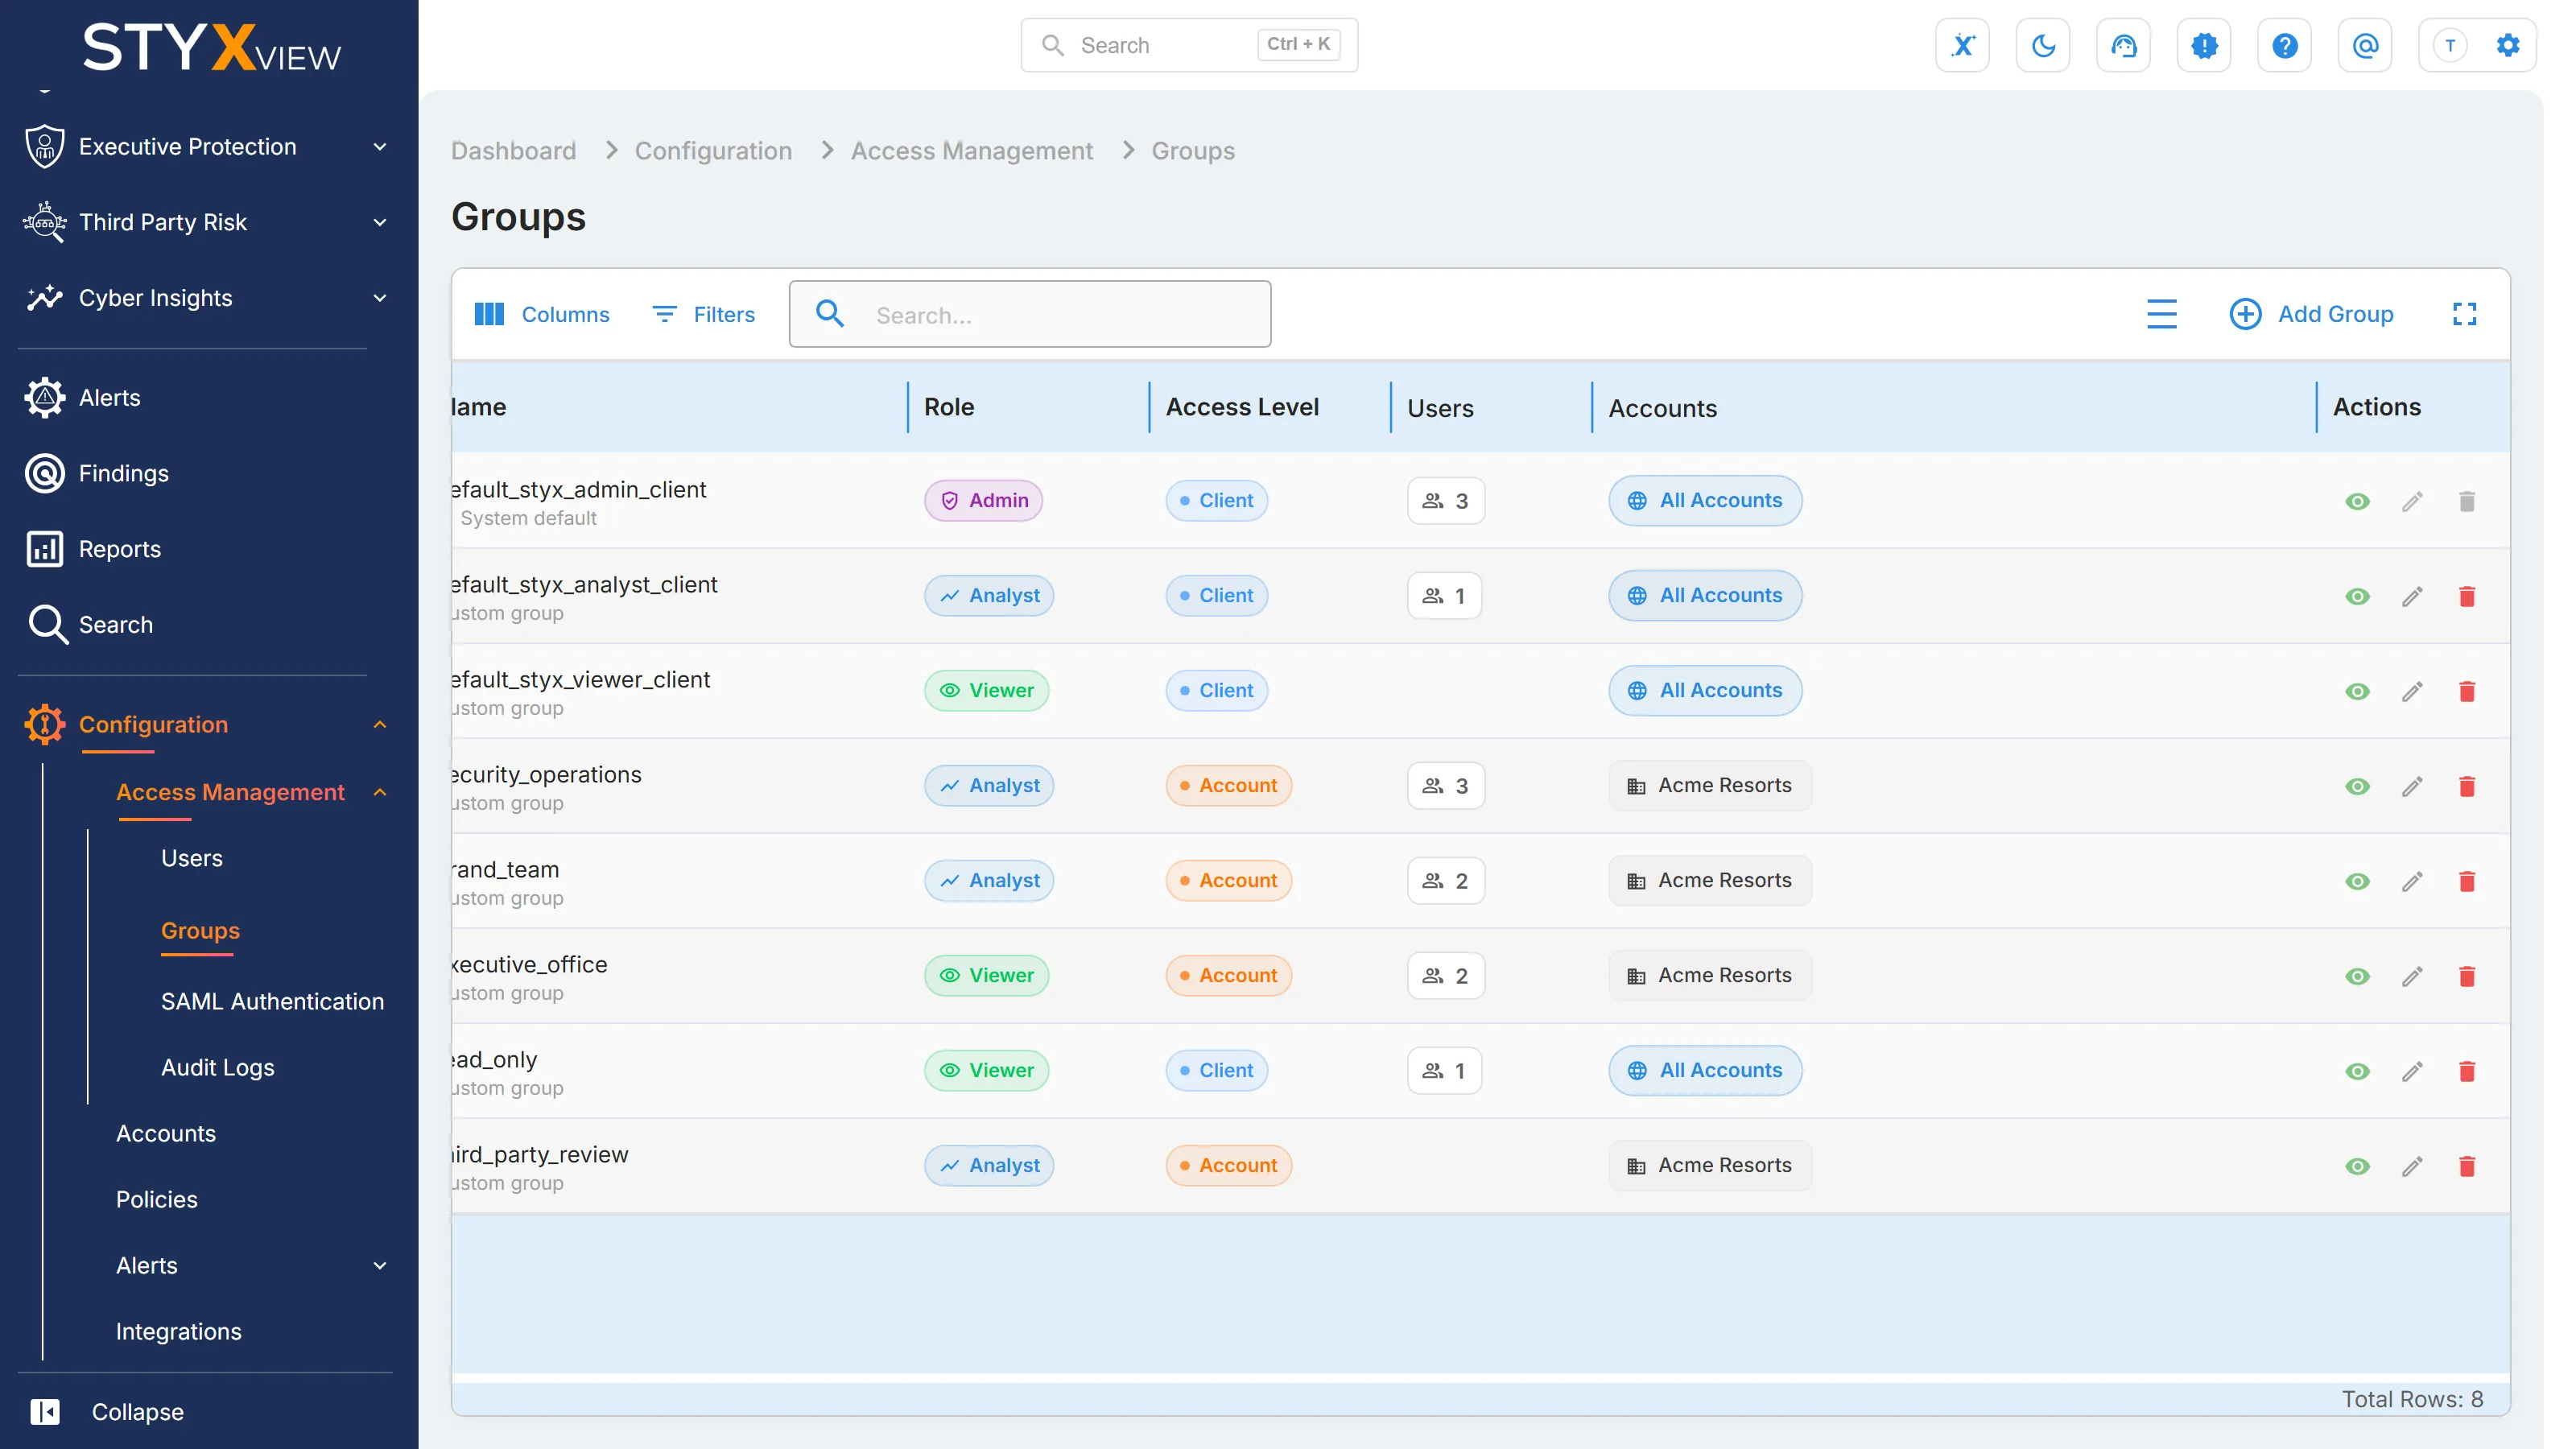
| Control | What it does |
|---|---|
| "Columns" | Shows or hides columns. |
| "Filters" | Filters the list on any column. To find the groups that reach one account, filter "Accounts" with the "Contains" operator. |
| "Search..." | Shows only the groups whose details contain the text you type. |
| "Add Group" | Opens the "Create Group" dialog. |
| Column | What it shows |
|---|---|
| "Group Name" | The group's name, with "System default" or "Custom group" under it. |
| "Role" | Admin, Analyst, or Viewer. |
| "Access Level" | Client or Account. |
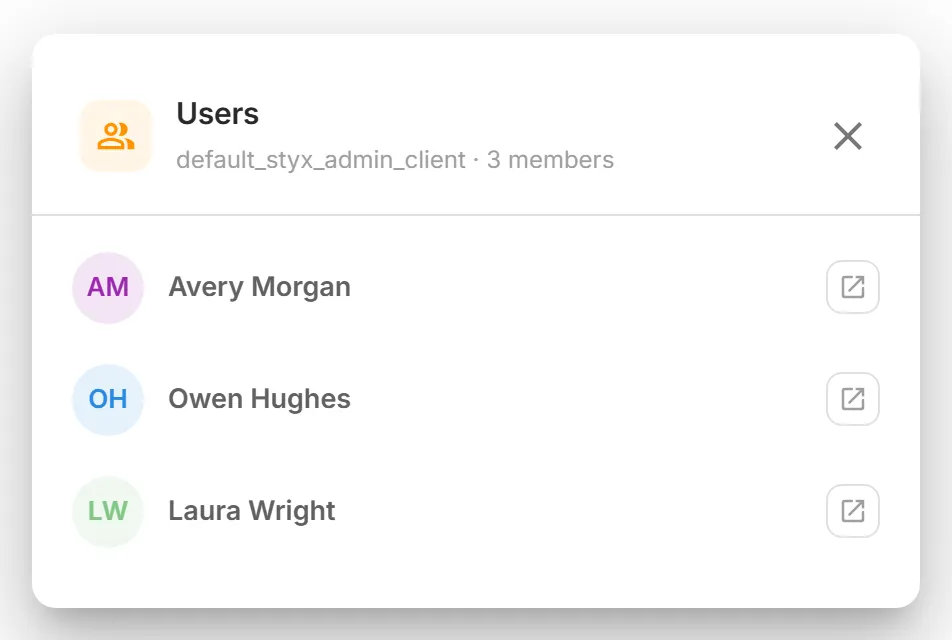
| "Users" | The number of users in the group. Select the number to list them. "Open profile" opens a user's "Update User" page in a new tab. |
| "Accounts" | The accounts the group can reach. A "Client" group shows "All Accounts". Point at the extra count to see accounts beyond the first three. |
| "Actions" | "View", "Edit", and "Delete". |
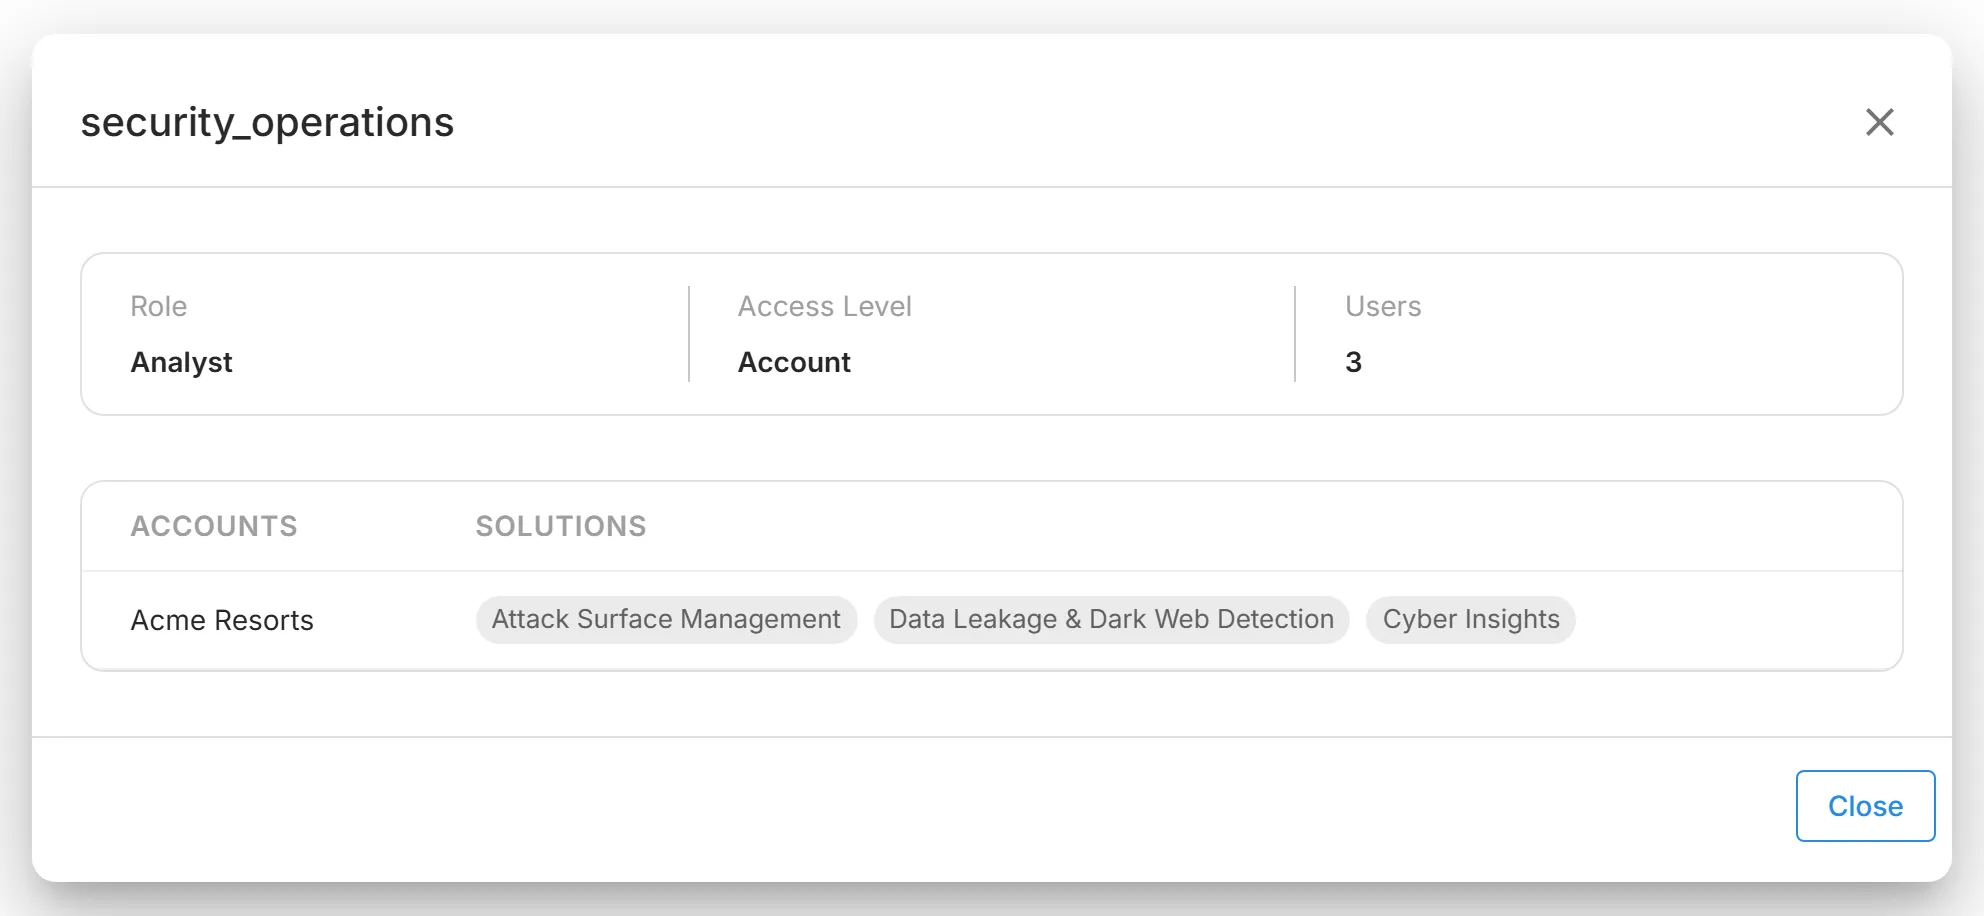
"View" opens the group's details: its role, access level, and number of users, and for an "Account" group, each account with the solutions its members can see.
Adding a New Group
Section titled “Adding a New Group”-
Select "Add Group".

-
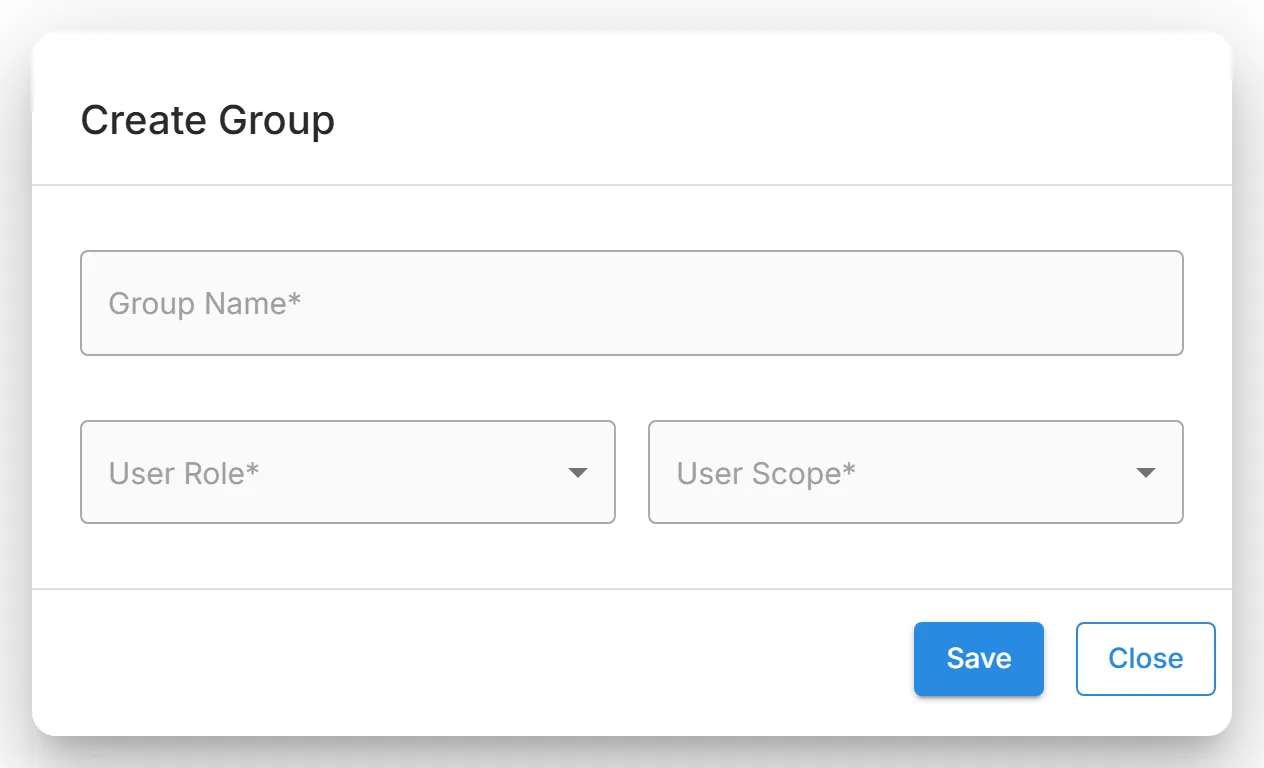
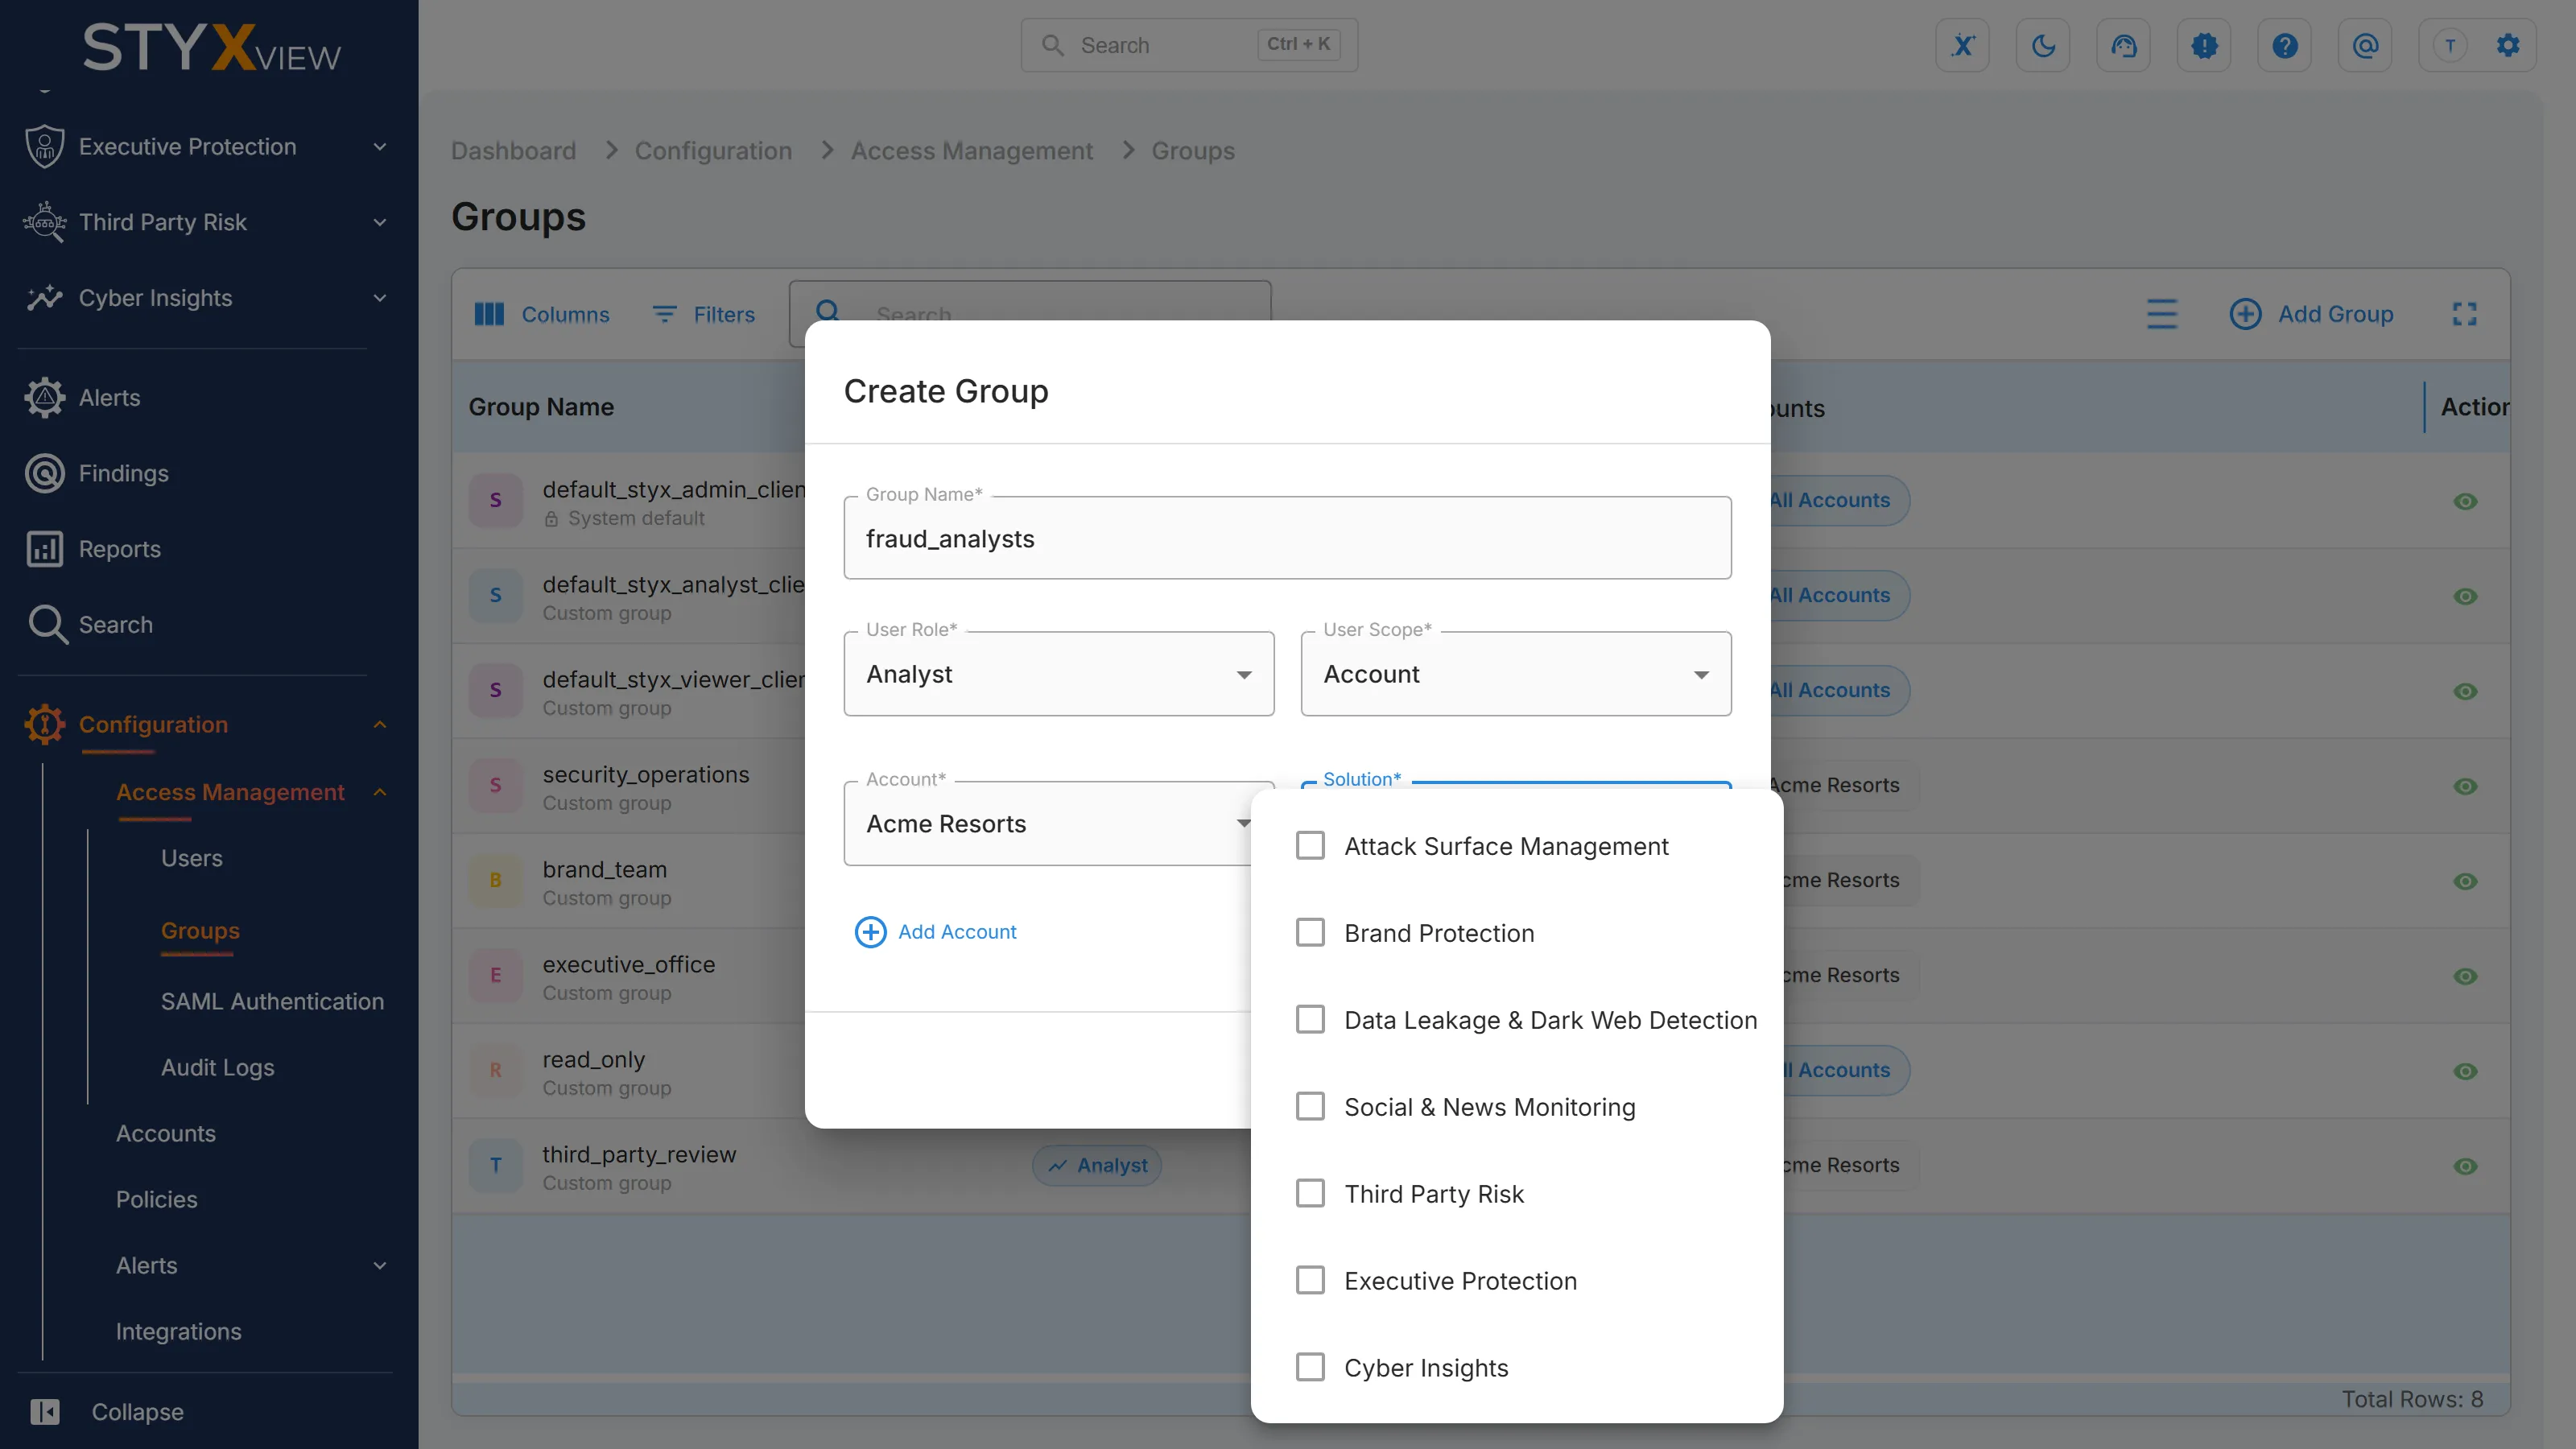
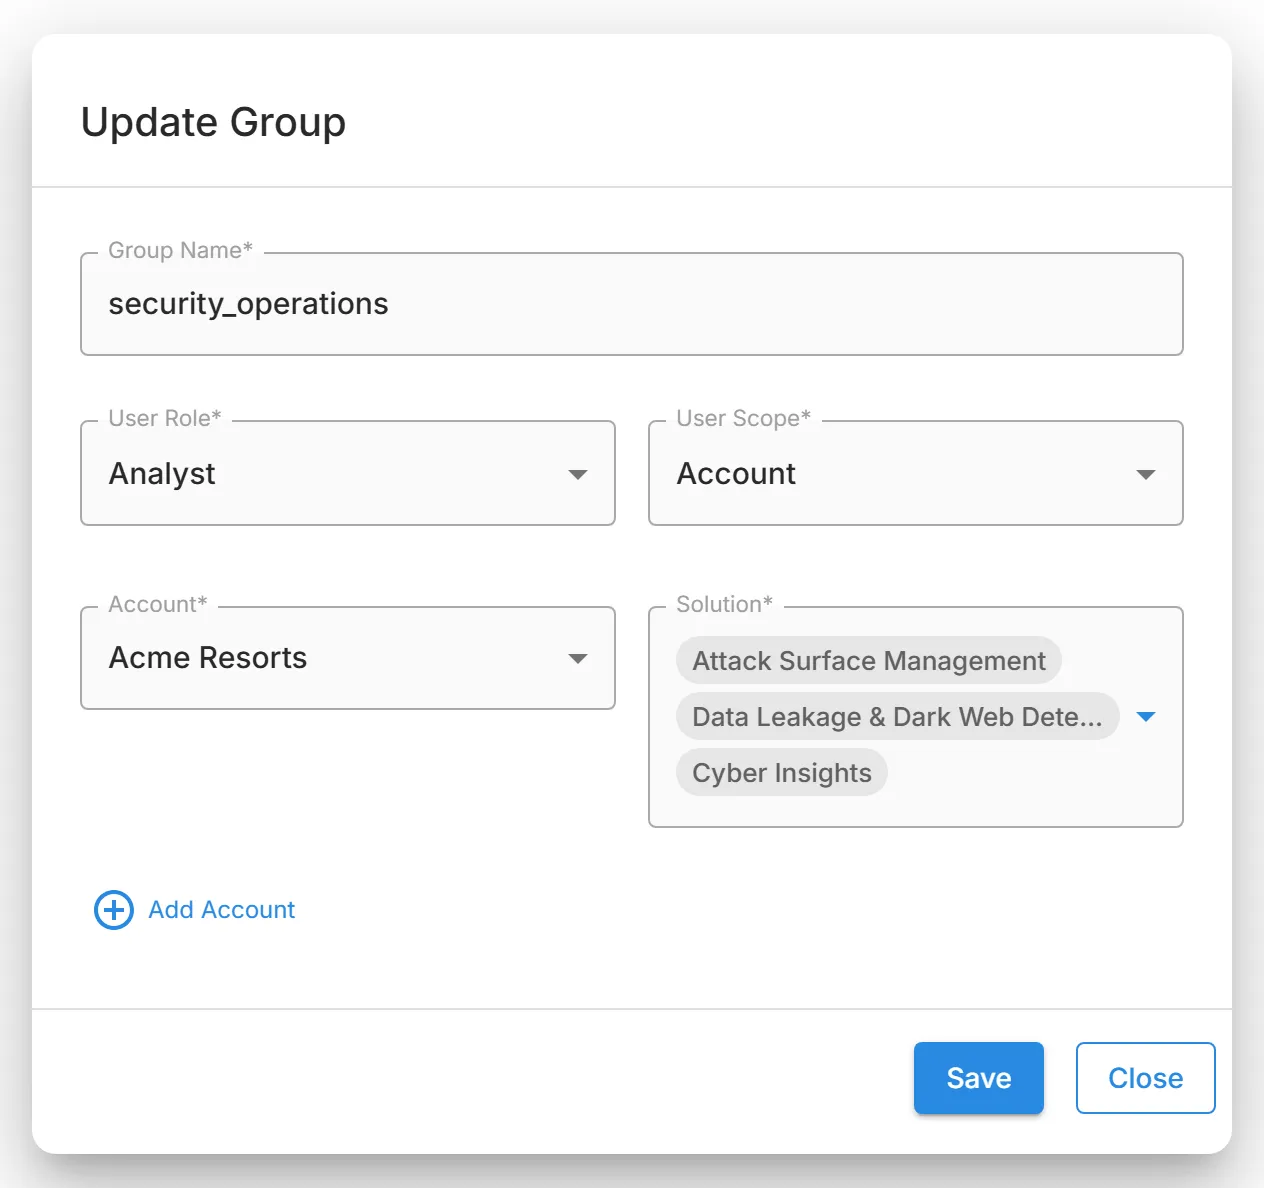
In the "Create Group" dialog, enter a "Group Name". Use letters, numbers, hyphens, and underscores. Any other character, including a space, is removed as you type. Each group name must be unique.
-
Choose the "User Role": "Admin", "Analyst", or "Viewer".
-
Choose the "User Scope":
- "Client": every account and every solution. Choosing "Admin" sets the scope to "Client" and locks it, so Admin groups always reach every account.
- "Account": only the accounts you choose in the next step.
-
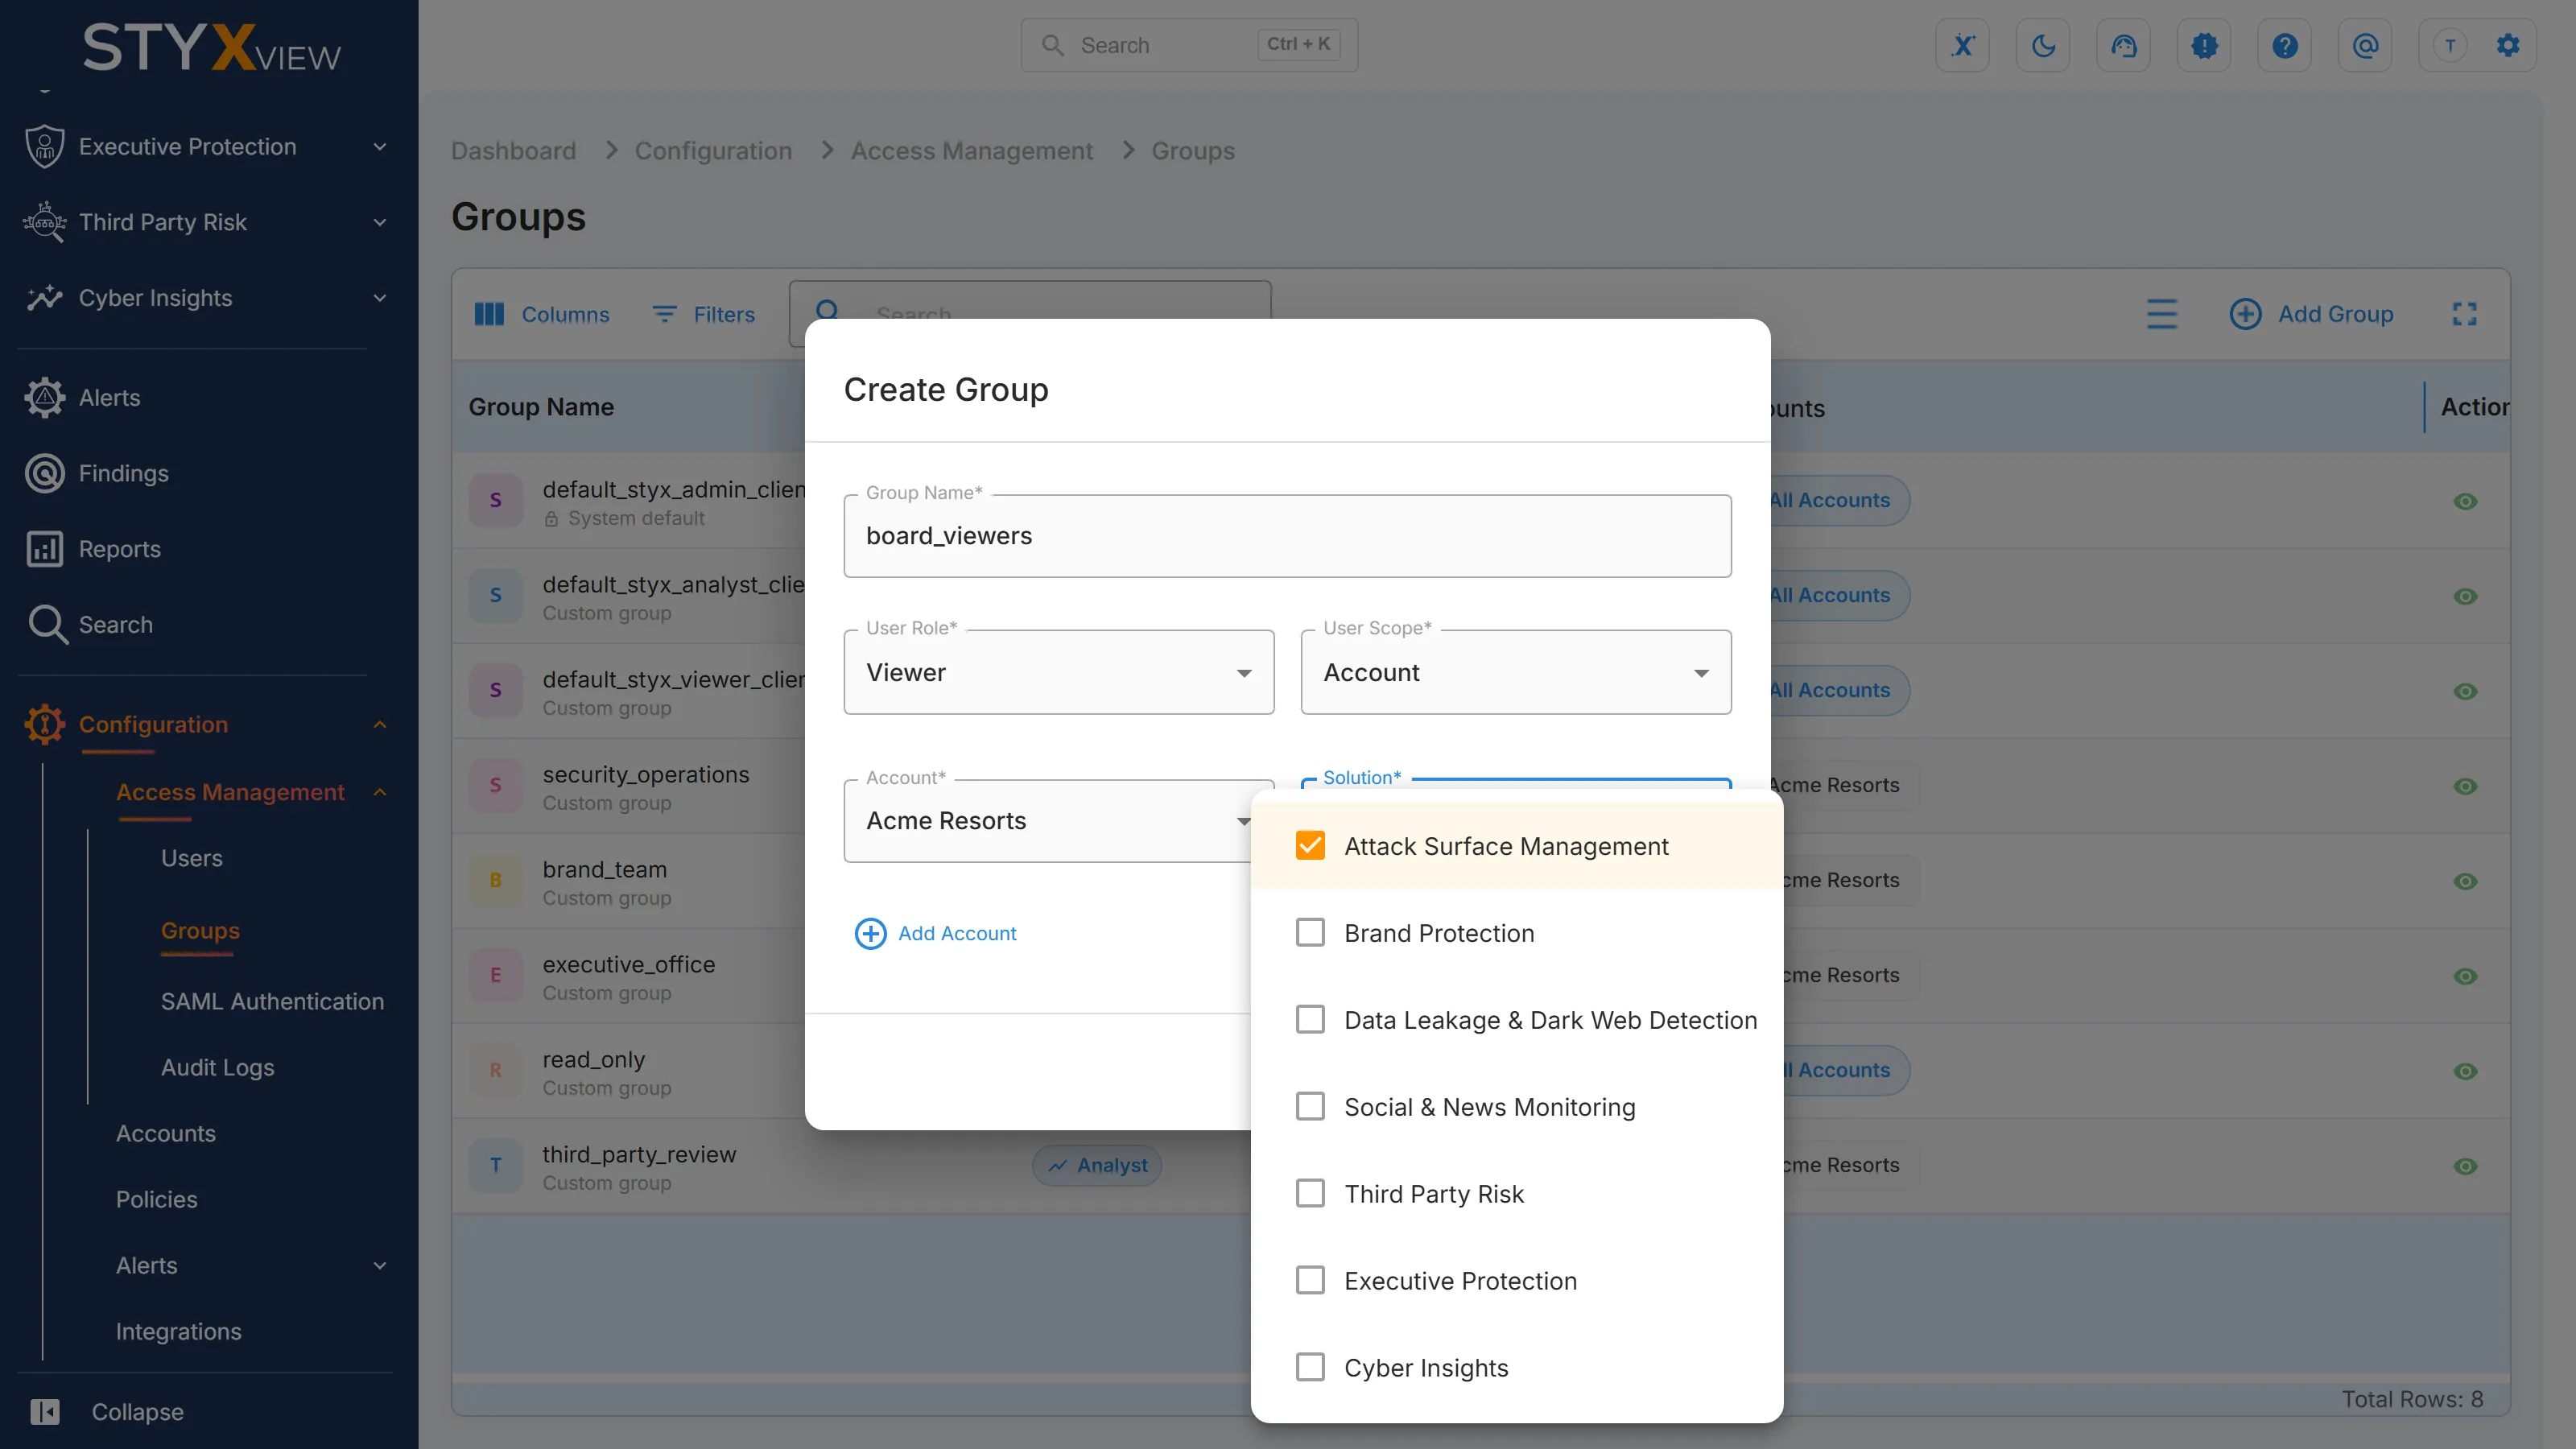
For an "Account" group, choose an "Account". For an Analyst or Viewer group, also choose one or more entries in "Solution". To give access to another account, select "Add Account" and fill in the new row. The minus icon removes a row, and each account can appear only once.
"Solution" offers only what the chosen account has:
- Attack Surface Management, Brand Protection, Data Leakage & Dark Web Detection, and Social & News Monitoring, when the account has a Company Protection policy.
- Third Party Risk, when the account has a third-party policy.
- Executive Protection, when the account has an Executive Protection policy.
- Cyber Insights, always.
-
Select "Save". To discard the group, select "Close".
To put users in the group, edit each user on Users, or choose the group when you add them.
Editing a Group
Section titled “Editing a Group”-
In the group's row, select "Edit" (pencil icon).
-
In the "Update Group" dialog, change any field and select "Save".
Saving signs every member of the group out of StyxView. Their new access applies when they sign in again.
If members sign in through SAML single sign-on and you rename the group, rename the group in your identity provider as well. Until the names match, those members cannot sign in.
Deleting a Group
Section titled “Deleting a Group”You can delete a group only when it has no users. Move its users to another group on Users first.
-
In the group's row, select "Delete" (bin icon).
-
Select "Delete" to confirm. To keep the group, select "Close".
If the group still has users, the dialog says so and offers only "Close".