

SAML Authentication
StyxView supports single sign-on (SSO) through Security Assertion Markup Language (SAML) 2.0. Once SSO is set up, your users sign in with their identity provider (IdP) account instead of a StyxView password, and the IdP group they belong to decides what they can see and do in StyxView.
Navigation Path
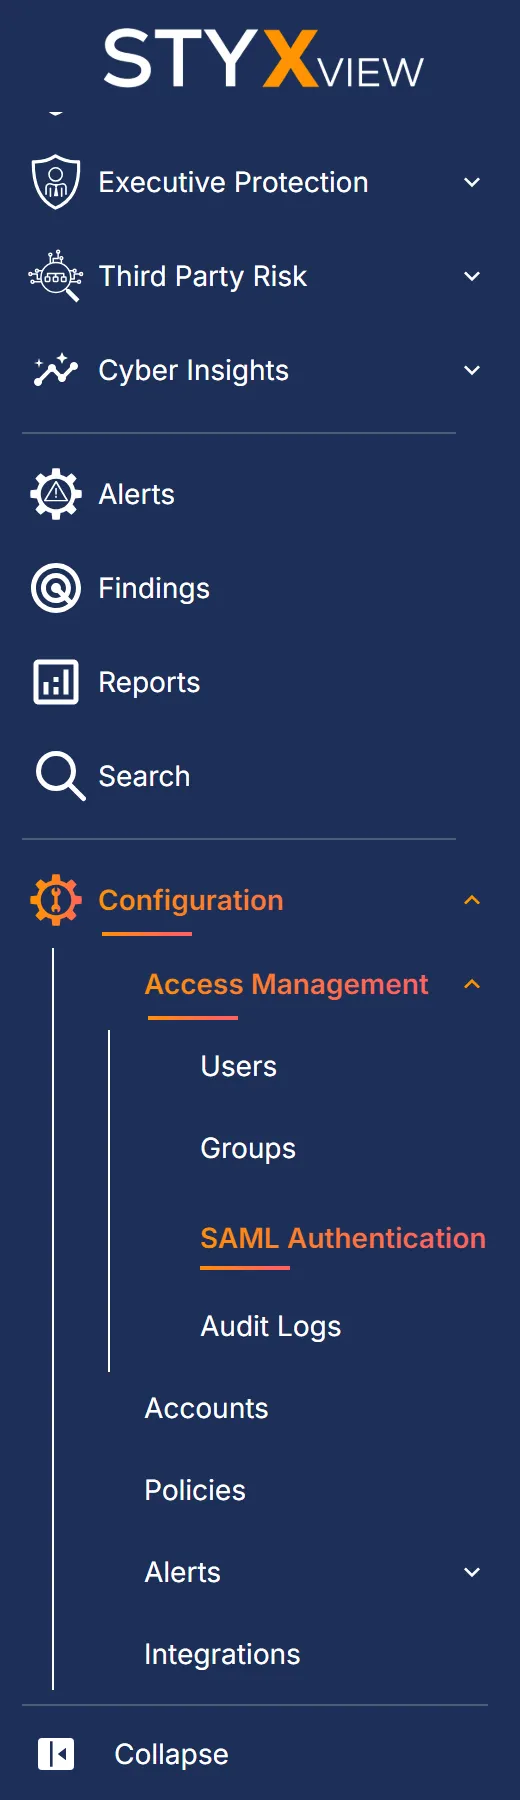
Section titled “Navigation Path”In the left menu, go to "Configuration" → "Access Management" → "SAML Authentication". Only users with the Admin role see this page.
Prerequisites for Configuring SAML SSO
Section titled “Prerequisites for Configuring SAML SSO”- A SAML 2.0 identity provider. For example PingIdentity, Okta, Microsoft Entra ID, Active Directory Federation Services (ADFS), or OneLogin.
- Administrator access to the IdP, so you can create the SAML application for StyxView.
- A StyxView user with the Admin role. The Admin role always has Client scope.
- A reachable metadata URL. StyxView reads your IdP's metadata document from its URL, so the URL must be reachable from the internet.
- The required attributes. The IdP must send these attributes in its SAML assertion:
- Email address
- Given name (first name)
- Surname (family name)
- Group name
- Phone number
Important Considerations for Using SAML SSO
Section titled “Important Considerations for Using SAML SSO”StyxView does not synchronise user accounts with your IdP:
- StyxView creates each user, and updates their name, from the IdP's assertion when they sign in.
- A user you remove from the IdP is not removed from StyxView automatically.
Configure StyxView for SAML Authentication
Section titled “Configure StyxView for SAML Authentication”- Sign in to StyxView as a user with the Admin role. Your first Admin user is a local user with a password, usually created by the Styx onboarding team.
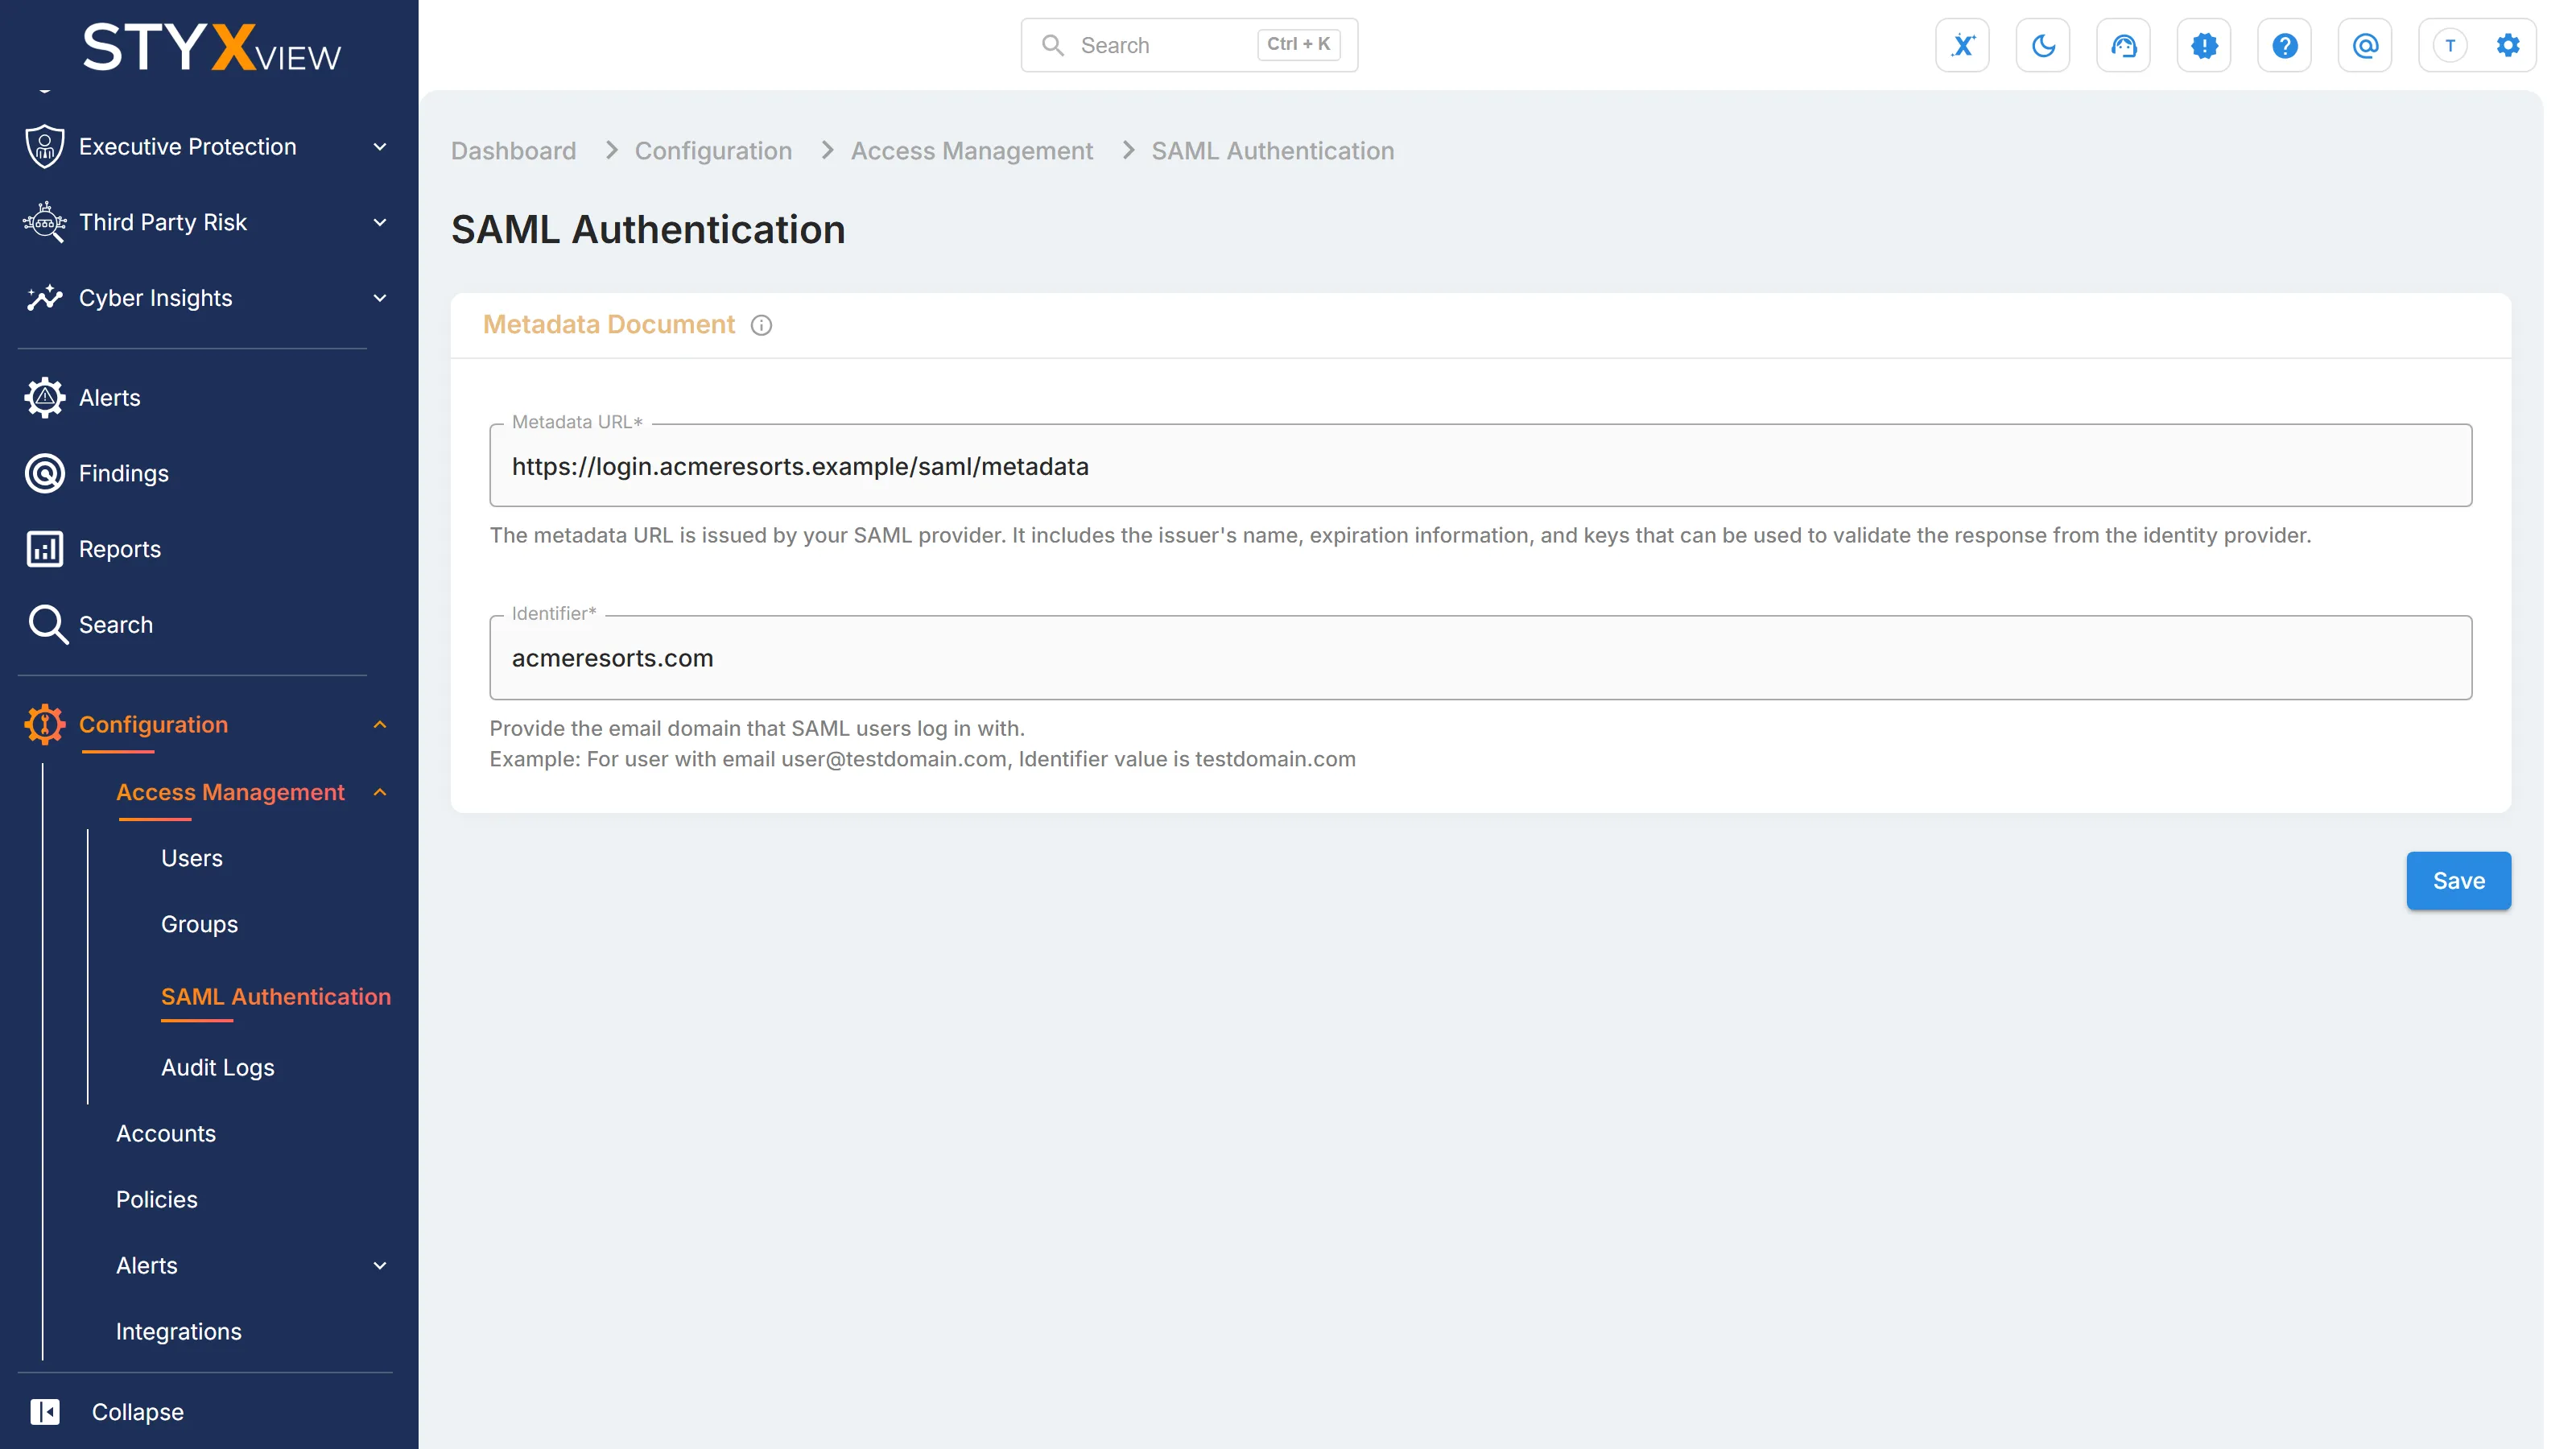
- Go to "Configuration" → "Access Management" → "SAML Authentication".
- In the "Metadata Document" panel, enter:
- "Metadata URL": the URL of your IdP's SAML metadata document. Your IdP issues it. It carries the issuer name, expiry information, and the keys StyxView uses to validate the IdP's responses.
- "Identifier": the email domain your users sign in with. For a user whose email is
user@contoso.com, entercontoso.com. Use lowercase letters, numbers, dots, and hyphens only.
- Select "Save".
To change the configuration later, select the pencil icon in the "Metadata Document" panel, edit the values, and select "Save". Select "Cancel" to keep the saved values.
IdP-Specific Instructions
Section titled “IdP-Specific Instructions”Each IdP sets up a SAML application in its own way. Follow your IdP's documentation, or contact its support team, to create the application and send the attributes listed above.
Authorise SAML IdP Groups to Access StyxView
Section titled “Authorise SAML IdP Groups to Access StyxView”Users from your IdP can sign in only through a group. You map each IdP group to a StyxView group, and the StyxView group's role and scope decide what its members can do.
- An IdP user can sign in only if the IdP sends a group name that matches a group in StyxView. Otherwise the sign-in is refused.
- You cannot give an individual IdP user access. Add the user to an IdP group, new or existing, that is mapped to StyxView.
- StyxView reads one group from each sign-in, so put each user in only one group that is sent to StyxView.
Prerequisites for Mapping SAML Groups to StyxView Groups
Section titled “Prerequisites for Mapping SAML Groups to StyxView Groups”- Your IdP supports SAML 2.0.
- Your IdP sends the required attributes in its assertion.
- StyxView is configured to use your IdP, as described in Configure StyxView for SAML Authentication.
Map Groups on a SAML IdP to StyxView Groups
Section titled “Map Groups on a SAML IdP to StyxView Groups”- Go to "Configuration" → "Access Management" → "Groups".
- Select "Add Group". To change an existing group, select its edit icon. The "Create Group" or "Update Group" dialog opens.
- In "Group Name", enter the name of the group on your IdP, exactly as the IdP sends it. Group names are case insensitive. Use letters, numbers, hyphens (-), and underscores (_) only.
- Select the "User Role" and "User Scope". For the Admin role, the scope is always Client.
- If the scope is Account, select an "Account". For the Analyst and Viewer roles, also select one or more solutions in "Solution". Select "Add Account" to give the group more accounts.
- Select "Save".
When SSO is set up and your groups are mapped, users sign in from the StyxView sign-in page: they enter their work email, select "Continue", and StyxView hands them to your IdP.
Manage Group Mappings for SAML Authentication
Section titled “Manage Group Mappings for SAML Authentication”On the "Groups" page you can:
- Change a group: select its edit icon, change the values, and select "Save".
- Delete a group: select its delete icon, then "Delete". A group that still has users cannot be deleted.
To remove a user from a group, change the user's group membership on your IdP.
For more about groups, see Groups.
Role-Based Access and Permissions for StyxView
Section titled “Role-Based Access and Permissions for StyxView”| Role | Scope | Access |
|---|---|---|
| Admin | Client | All accounts and all solutions under your organization, every page under "Configuration", and "Subscriptions". |
| Analyst | Client | All accounts and all solutions. No access to "Configuration". |
| Analyst | Account | Only the accounts and solutions selected for the group. No access to "Configuration". |
| Viewer | Client | All accounts and all solutions, view only. Cannot take actions such as "Mark as False Positive". No access to "Configuration". |
| Viewer | Account | Only the accounts and solutions selected for the group, view only. No access to "Configuration". |