
Alert Rules
An alert rule watches one risk indicator or platform event, and raises an alert when it fires. StyxView provides the rules. You choose which of them run, and narrow each one to the solutions, third parties, and entity types it covers. The alerts themselves appear on the Alerts page. Who is emailed about them is set in Subscriptions.
Navigation Path
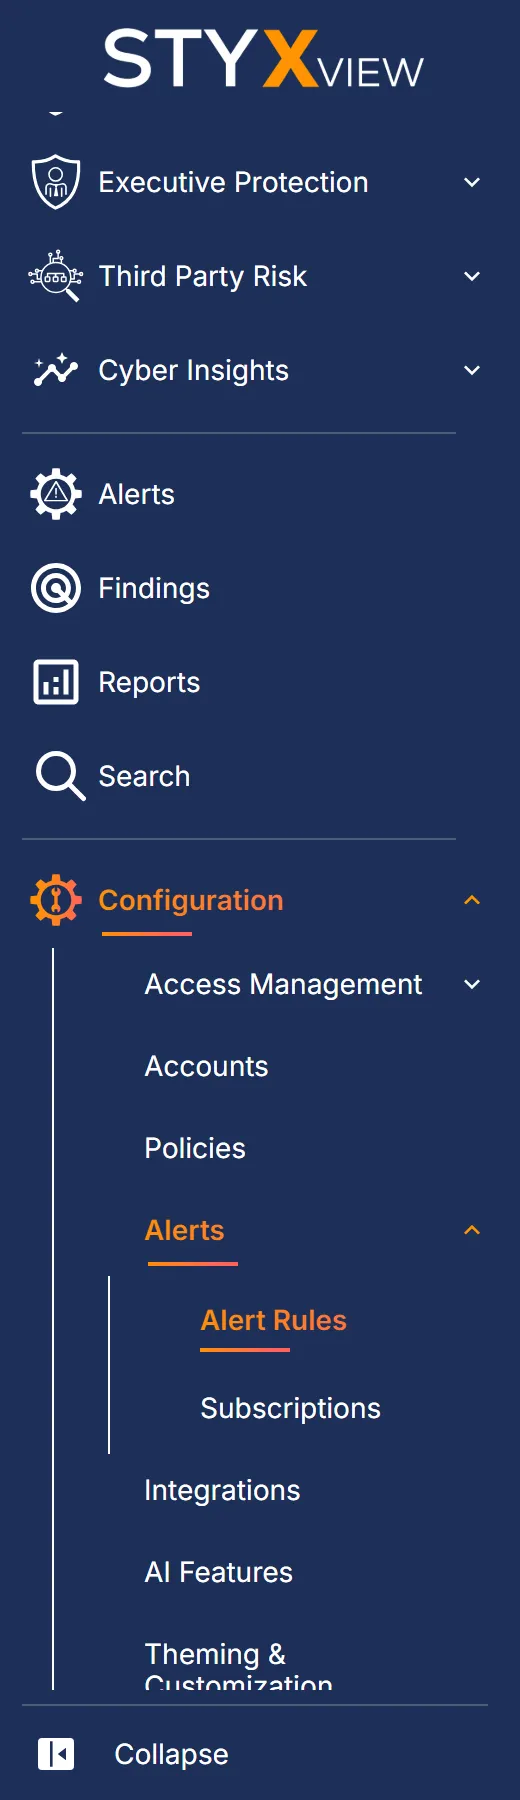
Section titled “Navigation Path”In the left menu, select "Configuration" > "Alerts" > "Alert Rules". Only users with the Admin role see it.
Rules Config
Section titled “Rules Config”The page is titled "Rules Config". It lists the alert rules StyxView provides, some of them enabled from the start.
Alert Rule
Section titled “Alert Rule”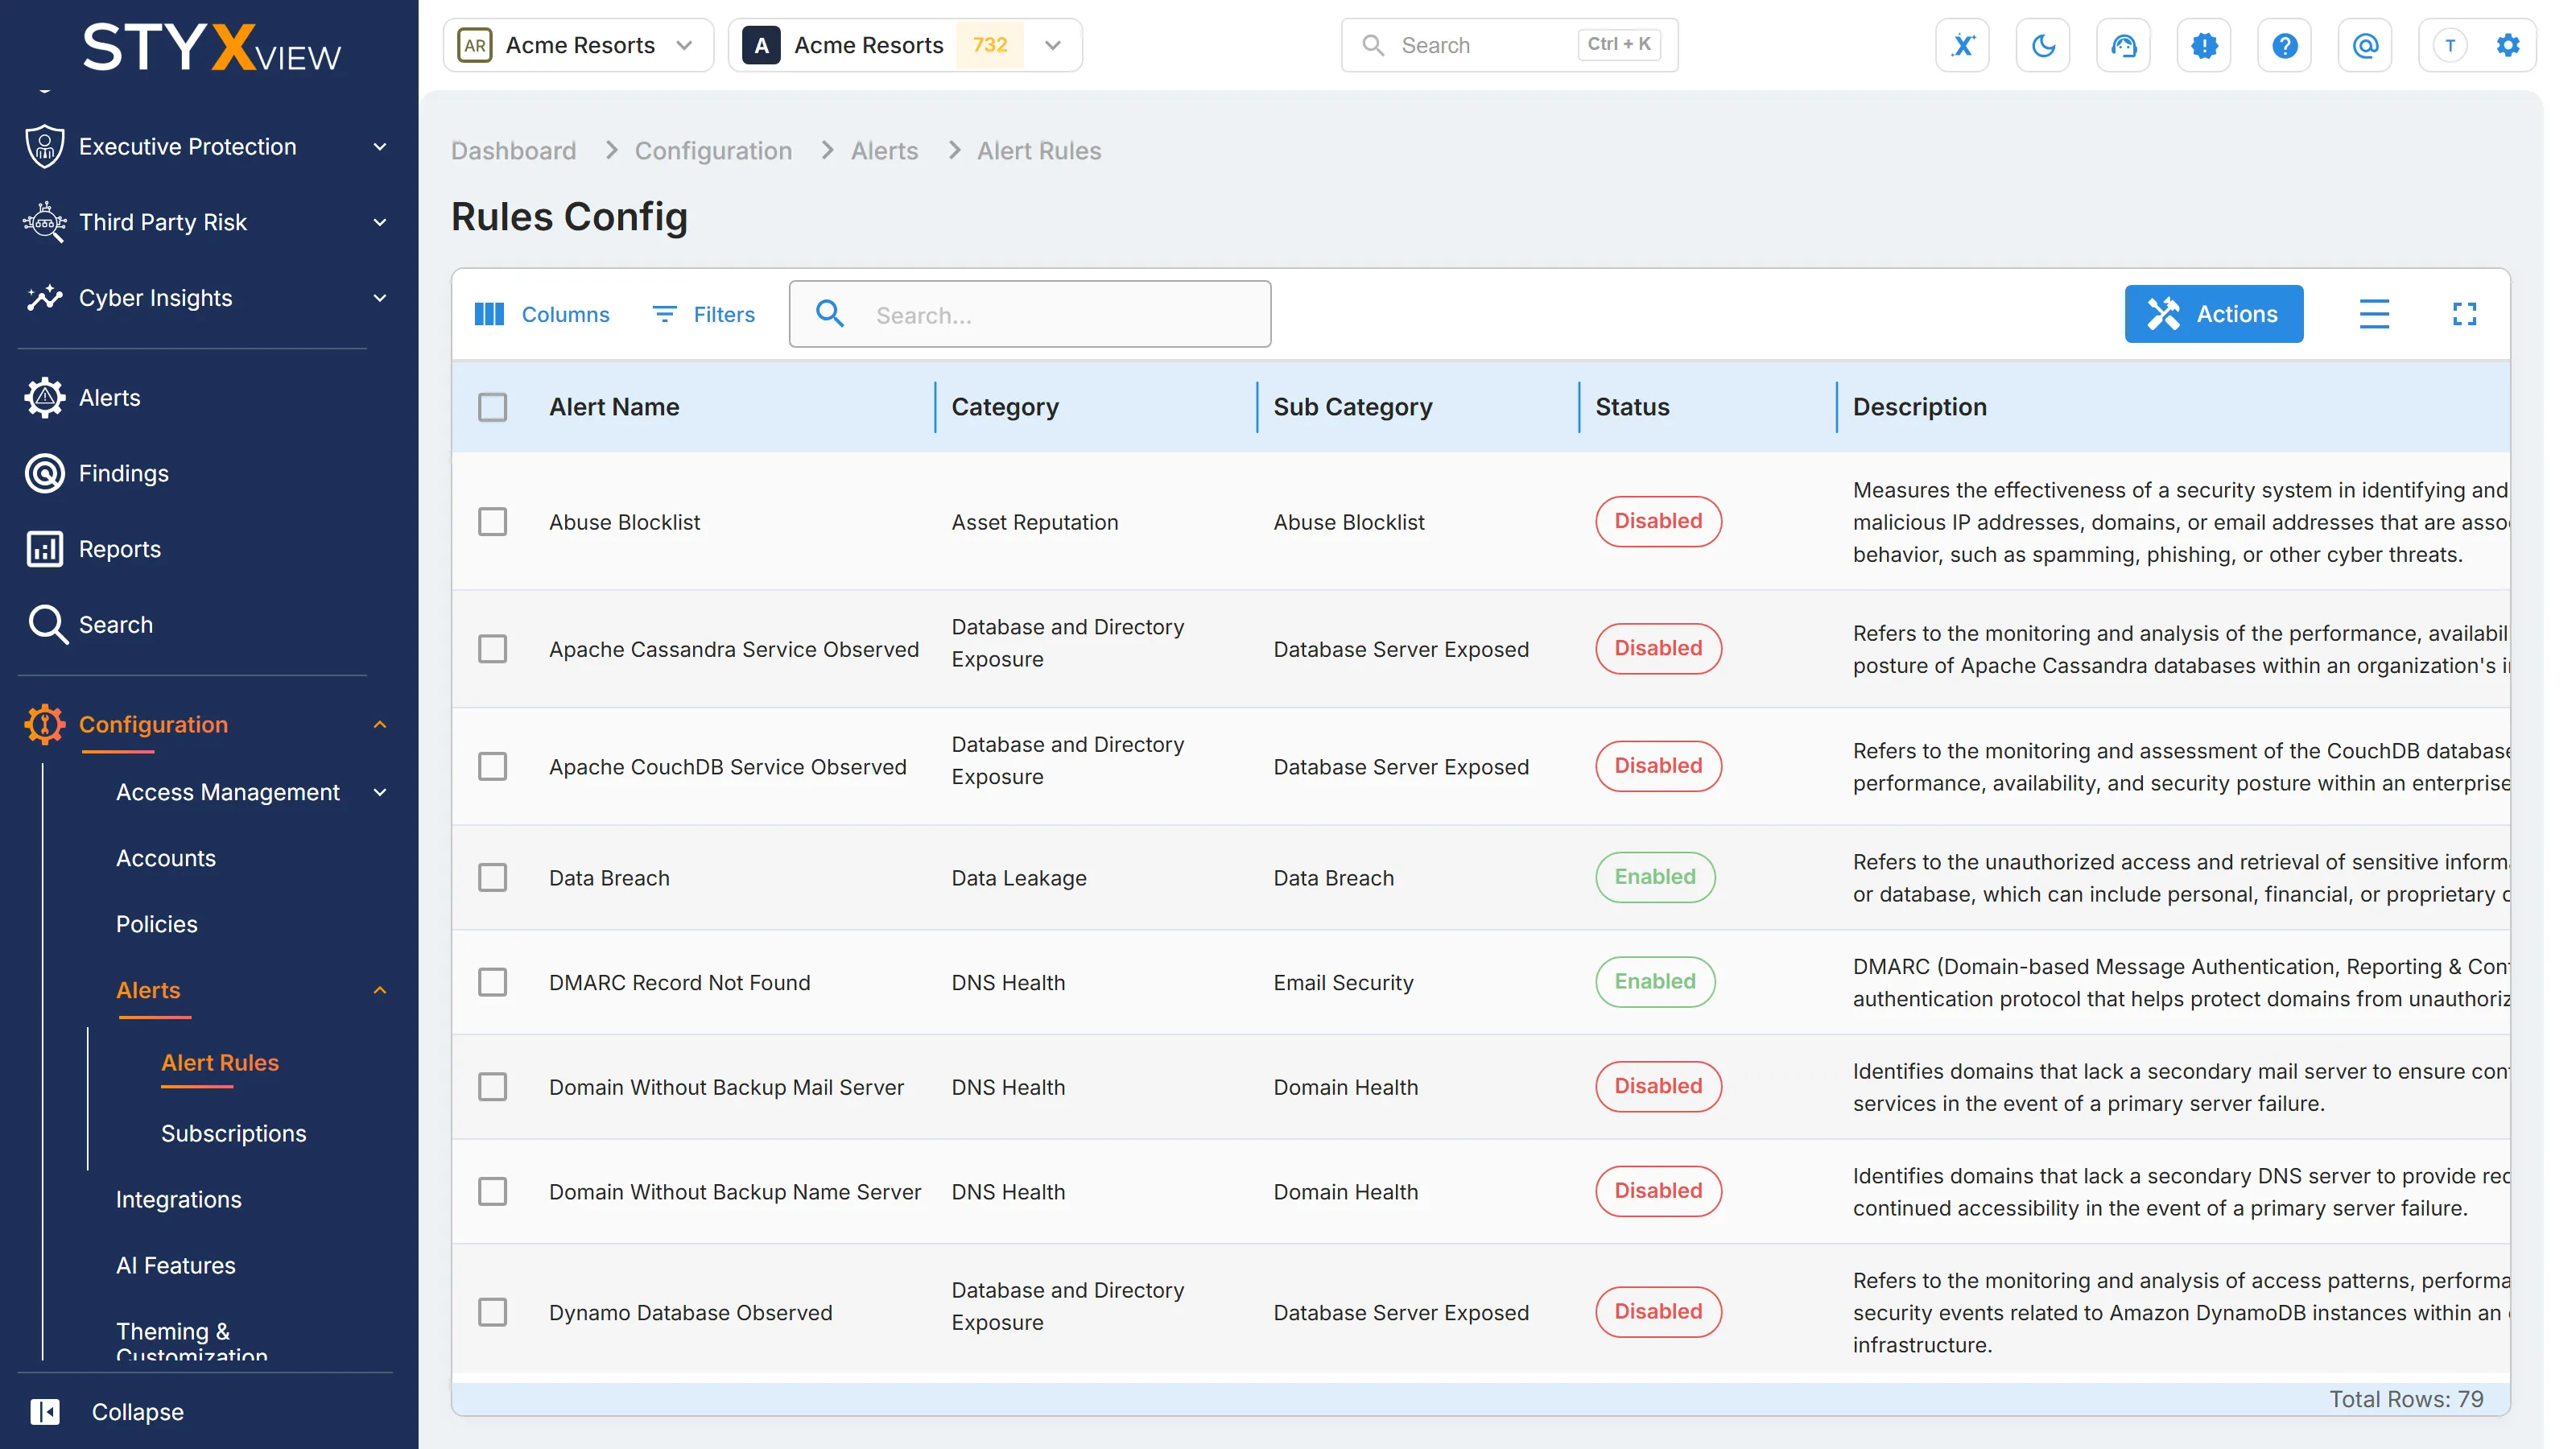
| Column | What it shows |
|---|---|
| Alert Name | The name of the rule. |
| Category | The category of the alerts the rule raises, such as "Data Leakage", "Brand Risks", or "Digital Risk Score". |
| Sub Category | The risk indicator sub category. For a rule about a platform event, it repeats the category. |
| Status | "Enabled" or "Disabled". |
| Description | What the rule watches for. |
| Severity | The severity of the alerts the rule raises: "Critical", "V. High", "High", "Medium", "Low", or "Info". |
| Date Modified | When the rule's settings last changed. |
| Edit | The edit icon. |
You can filter on every column except "Sub Category" and "Edit". See Action & Filter Bar.
Creating a rule
Section titled “Creating a rule”You cannot create your own alert rules. StyxView provides every rule on this page. To get the alerts you need, enable the rules that watch for them and narrow each one to the solutions, third parties, and entity types you want: see Enable or disable rules and Edit a rule. To choose who is emailed about the alerts, see Subscriptions.
Enable or disable rules
Section titled “Enable or disable rules”-
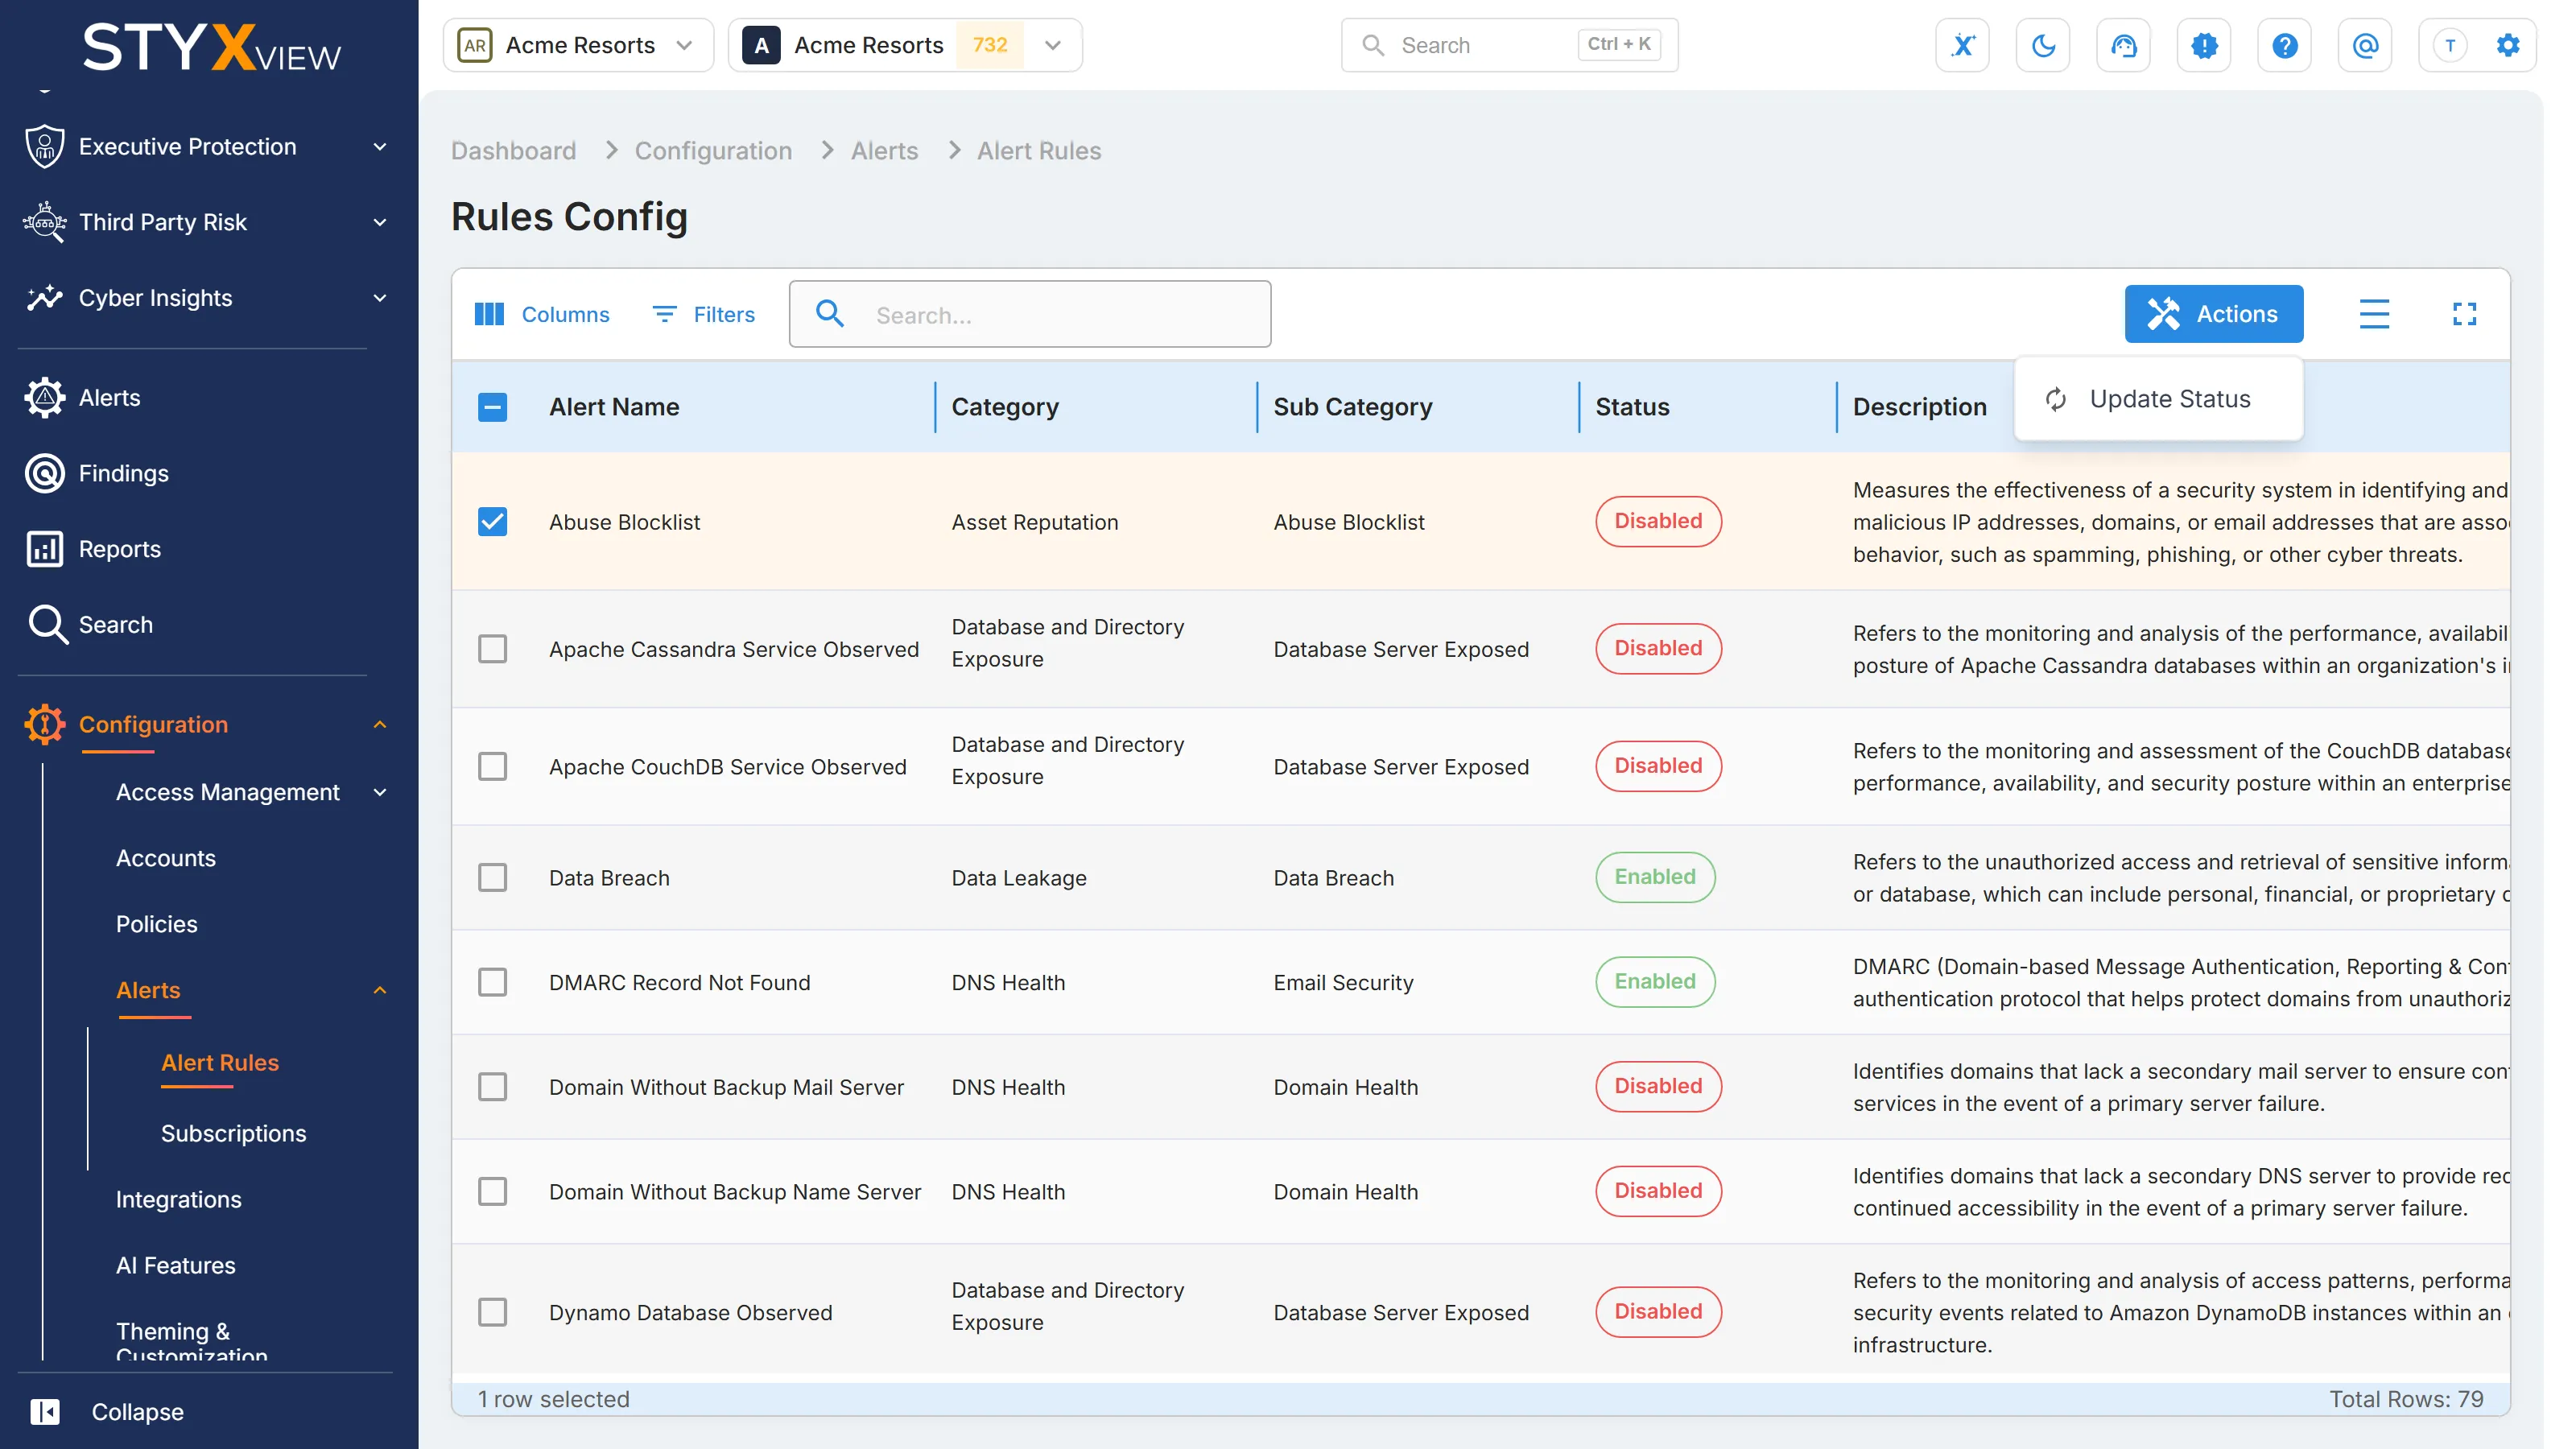
Select the rules with their checkboxes. They must all have the same status. "Update Status" is unavailable when they do not.
-
Select "Actions", then "Update Status".
-
Select "Yes" to confirm.
Disabling a rule stops it raising new alerts. Alerts it raised before stay on the "Alerts" page.
Edit a rule
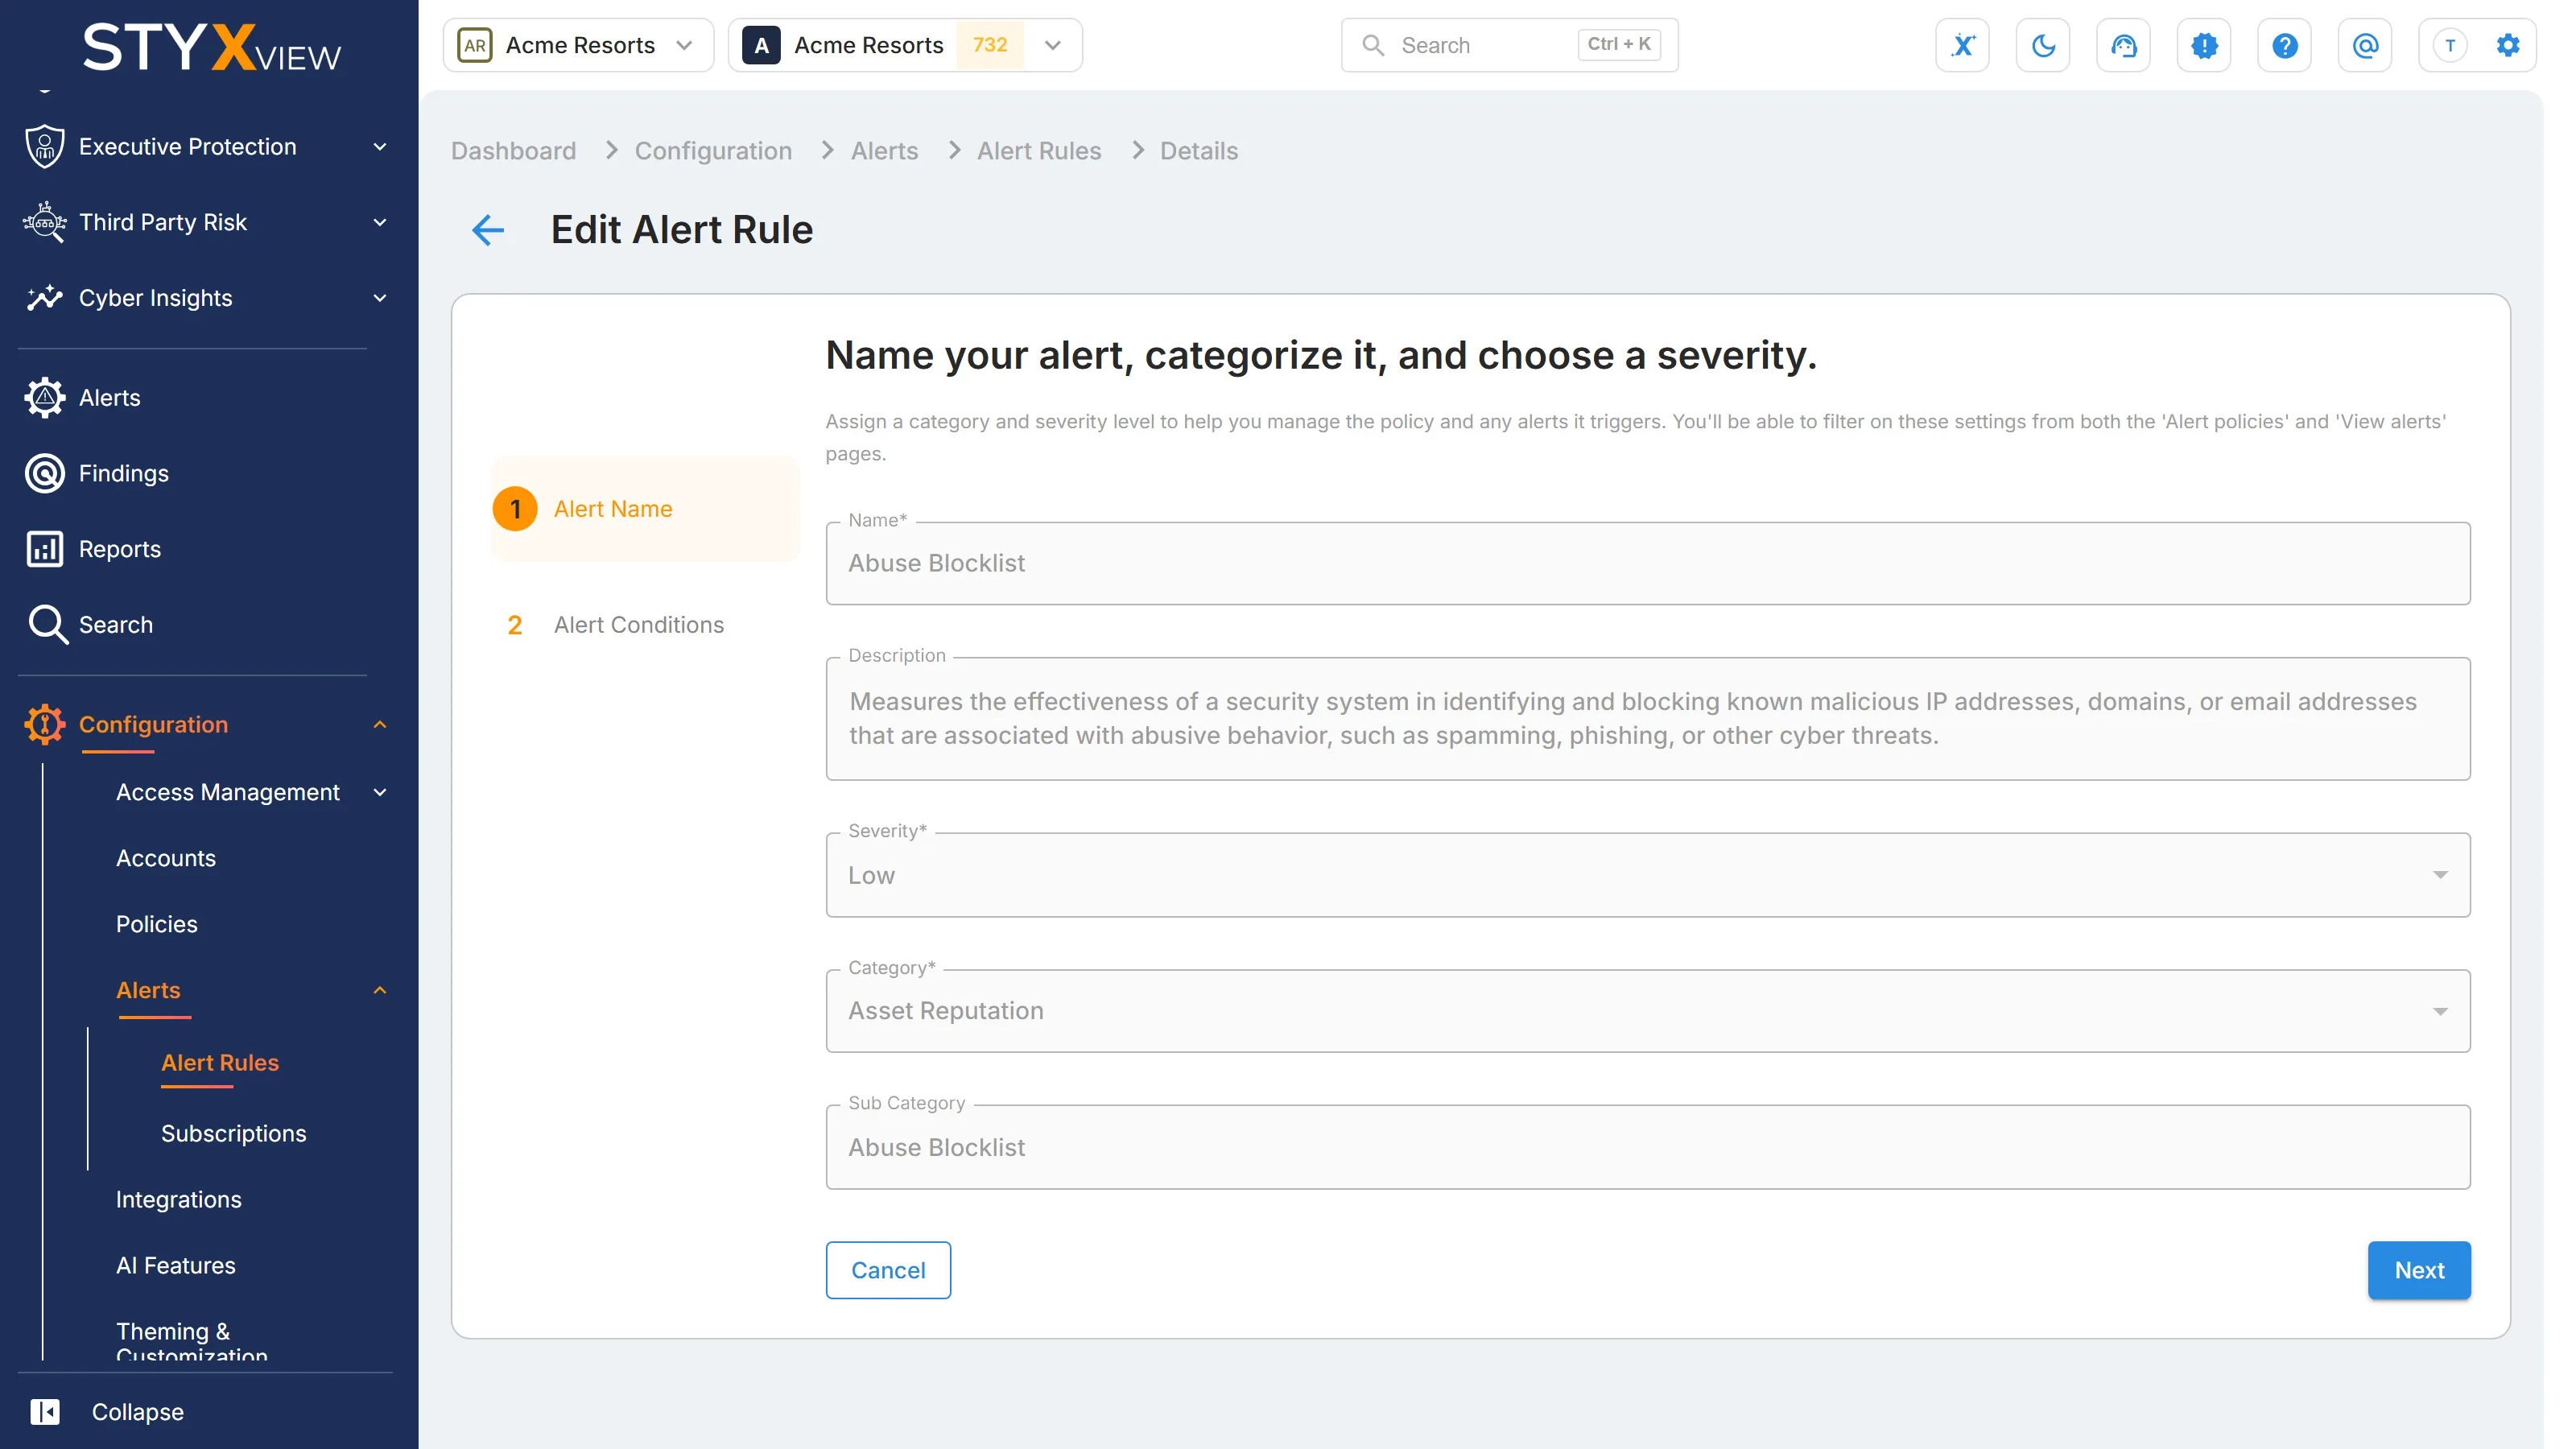
Section titled “Edit a rule”Select the edit icon on a rule to open "Edit Alert Rule". It has two steps, "Alert Name" and "Alert Conditions".
-
"Alert Name" shows the rule's "Name", "Description", "Severity", "Category", and, for a risk indicator rule, "Sub Category". StyxView sets these and you cannot change them. Select "Next".
-
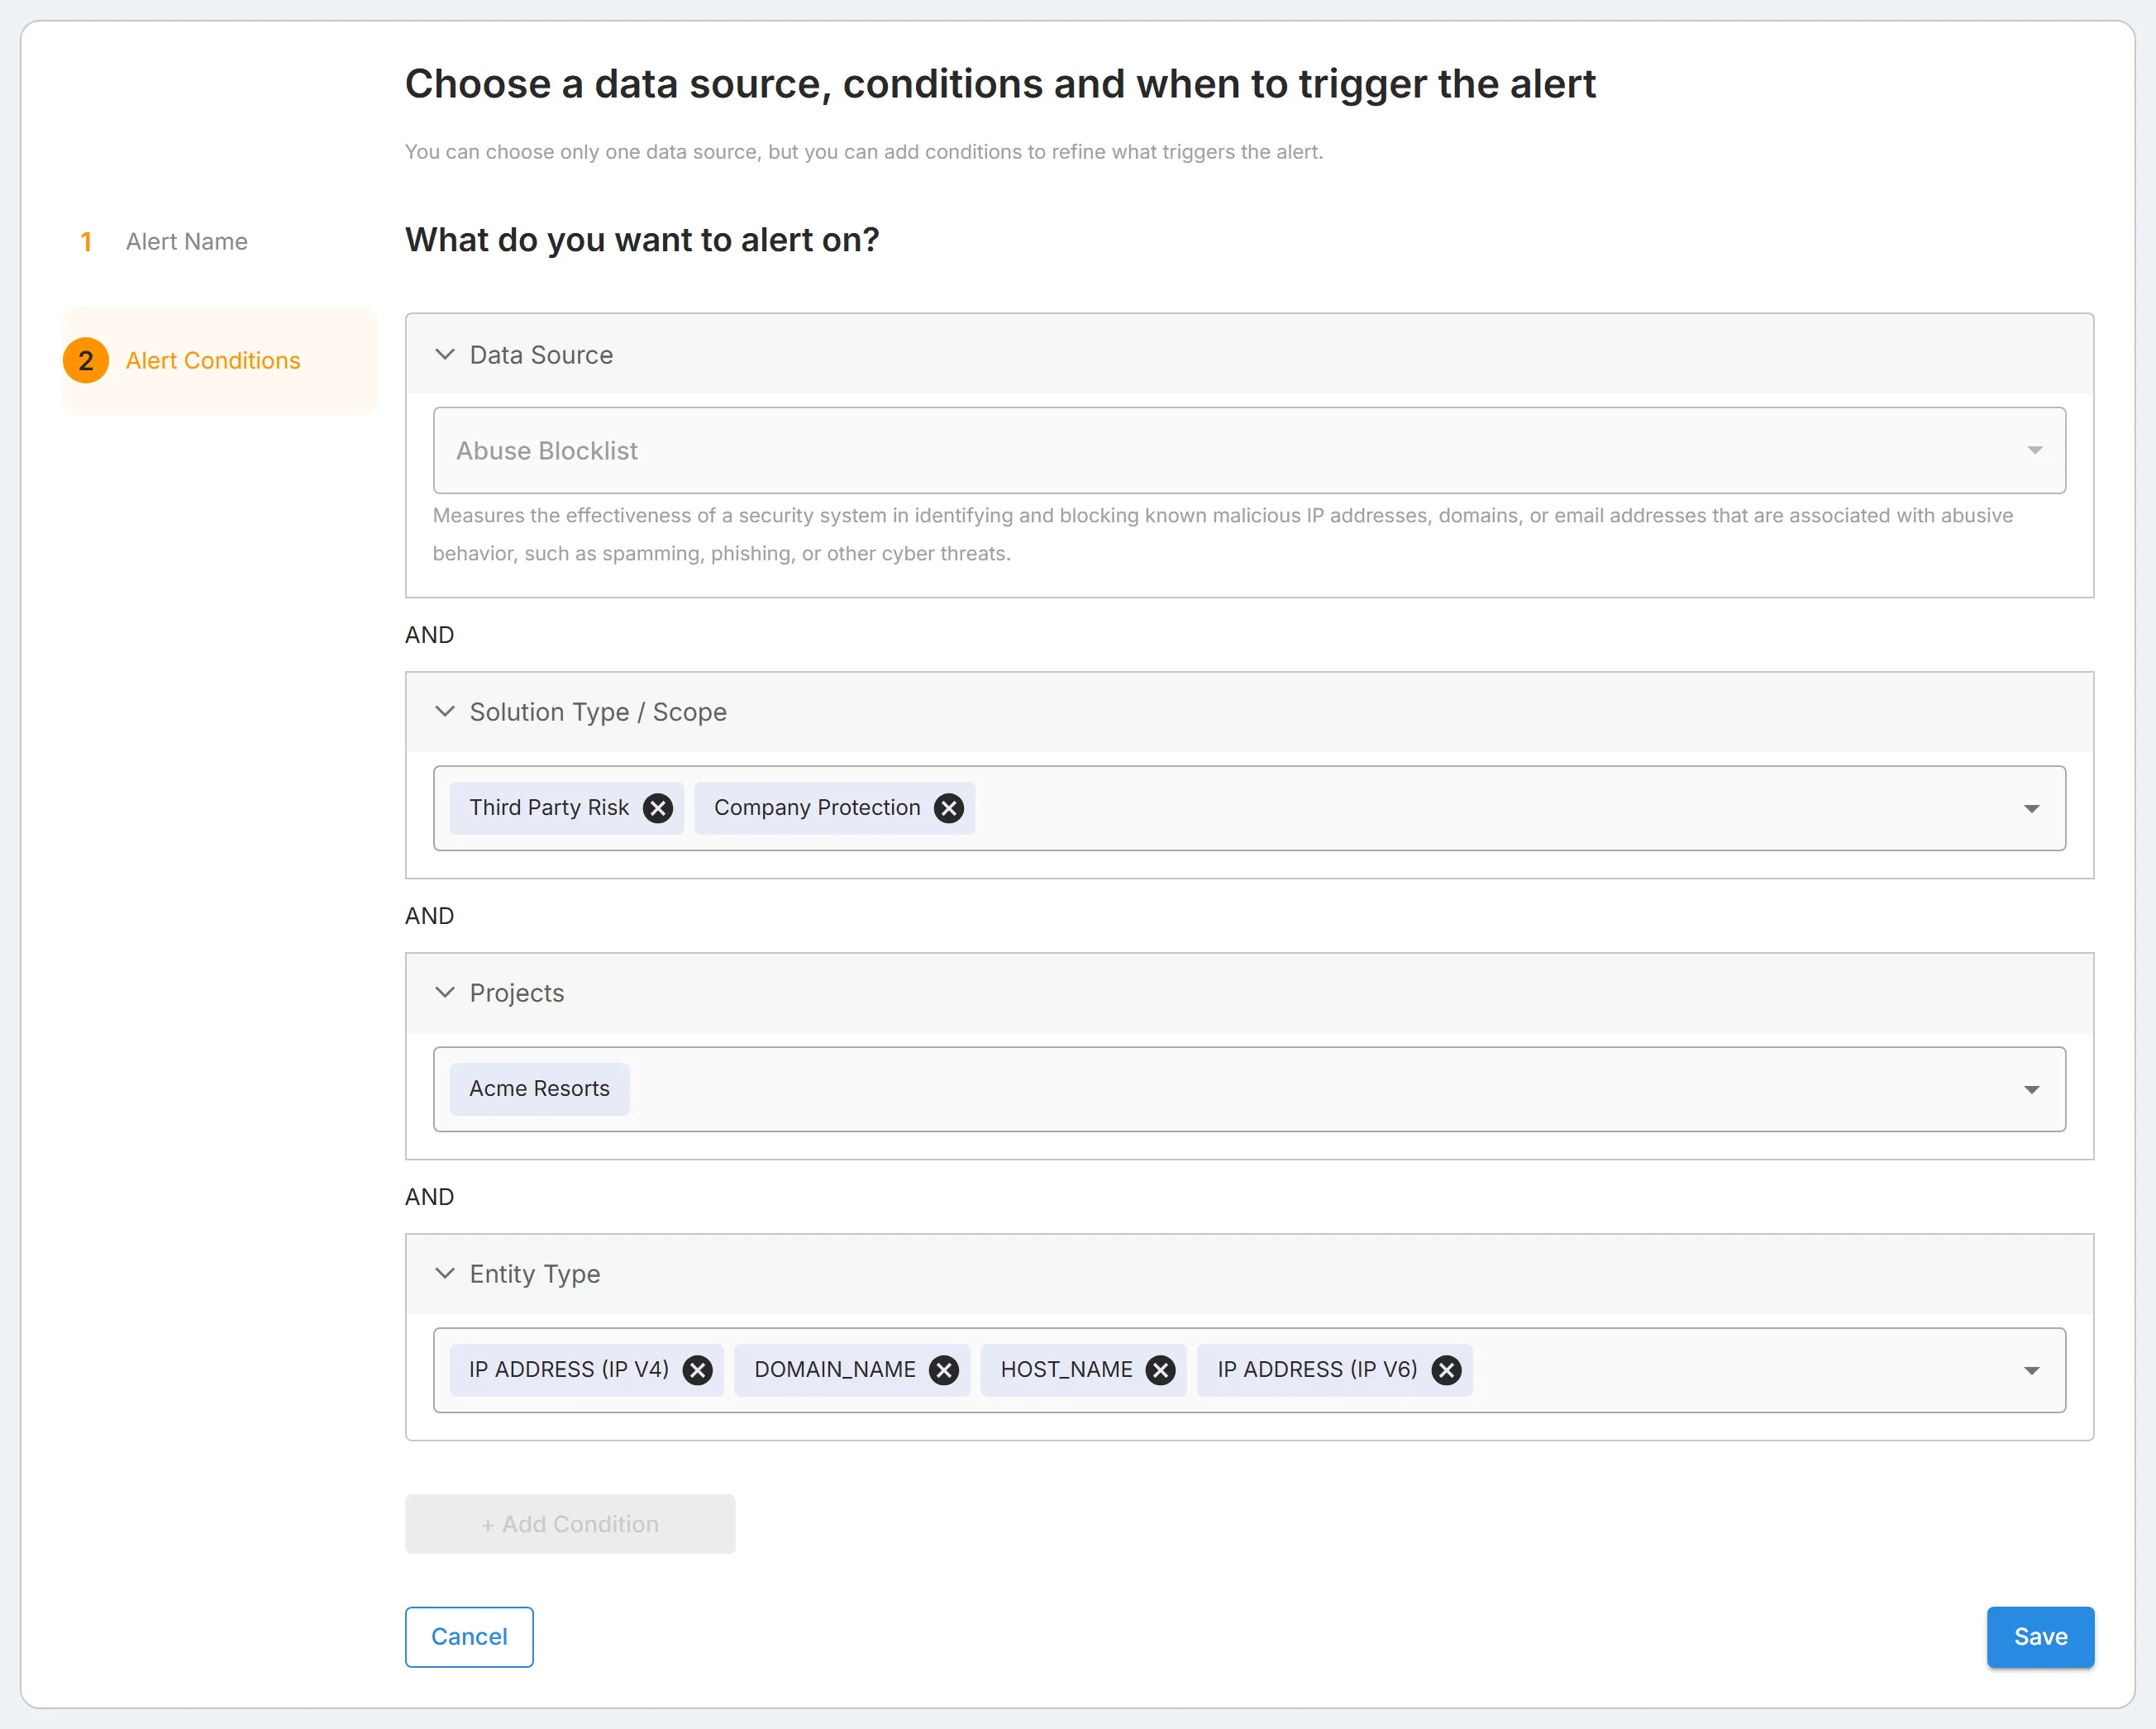
"Alert Conditions" shows the rule's "Data Source", the risk indicator or event it watches, which you cannot change. Below it are the rule's conditions. Each condition needs at least one value:
- "Solution Type / Scope": the solutions the rule raises alerts for.
- "Projects": your account, which is always included, and the third parties the rule covers. The third parties are offered only when "Third Party Risk" is in "Solution Type / Scope". Adding "Third Party Risk" adds all your third parties; remove the ones you do not want. Removing every third party also removes "Third Party Risk" from the scope.
- "Entity Type": the kinds of entity the rule raises alerts for. Risk indicator rules only.
-
To add a condition the rule does not show yet, select "+ Add Condition" and choose it. The button is shown on risk indicator rules only.
-
Select "Save", then "Confirm" in "Confirm changes". If you changed nothing, "Save" returns to the list.
If a condition has no value, "Required fields are missing" opens. Select "Close", then fill in the fields highlighted in red. To leave without saving, select "Cancel", then "Confirm".